
Leon Mk1
|
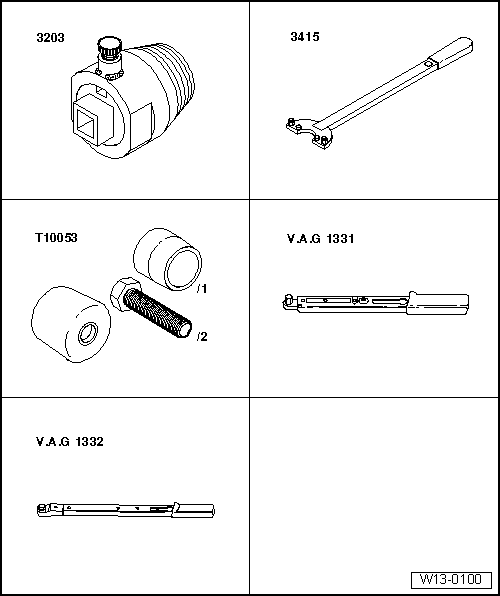
Removing and installing sealing flange and pressure plate/drive plate
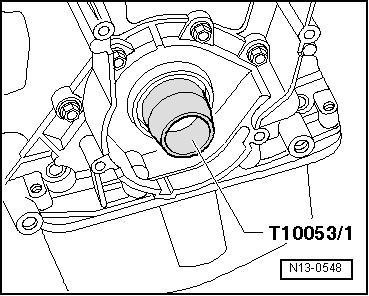
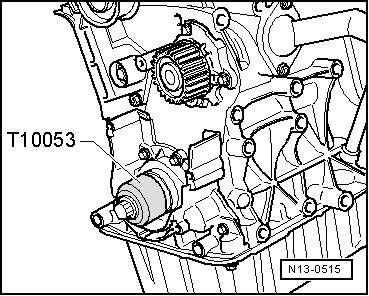
Renewing crankshaft oil seal -belt pulley end
|
 |
|
|
 |
|
|
 |
|
Installing Note: Gradual introduction of PTFE oil seals (Poly-Tetra-Fluor-Ethylen). Identifying characteristics: no annular spring, sealing lip wider. The sealing lip of this oil ring must not be oiled or lubricated. A plain encased seal of older construction (with annular spring) may be replaced with a PTFE oil seal, but not vice versa. |
 |
|
|
 |
|
|
|
|
Note: Thread and shoulder must be free of oil and grease. Installing toothed belt and adjusting valve timing => Page 15-6.
|