
Leon Mk1
|
Removing and installing sealing flanges and two-part flywheel
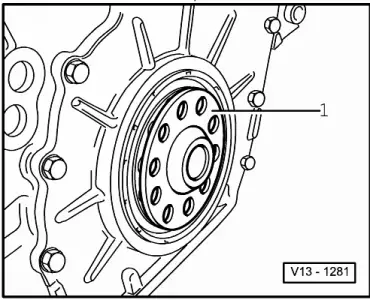
Removing and installing drive plate
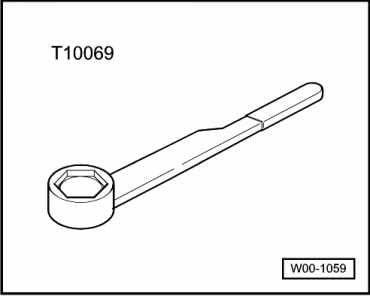
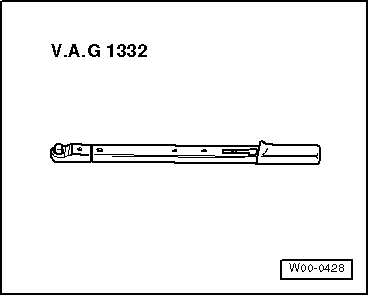
Special tools, workshop equipment, testers, measuring instruments and auxiliary items required |
 |
|
|
 |
|
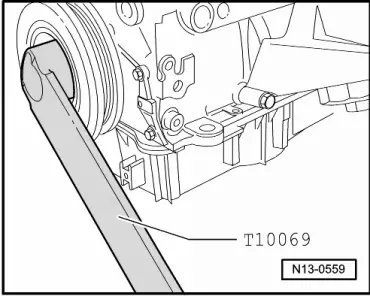
Removing |
 |
|
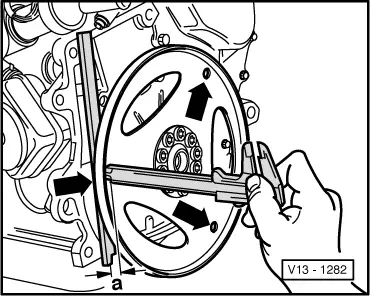
Installing
|
 |
|
If the specification is not attained: |
 |
|
Note: Only one shim of the appropriate thickness may be used. If the specification is attained:
|