seat Workshop Repair Guides

SEAT Workshop Service and Repair Manuals

Removing and installing evacuating and charging valves on low and high-pressure side > < Removing and installing Doowon condenser
Removing and installing dryer cartridge
Special tools and workshop equipment required
   
t  Torque wrench -V.A.G 1331/- (5…50 Nm)
  W00-0427
t  
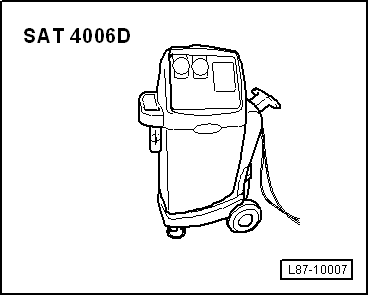
Air conditioner service station -SAT 4006 D- or model VAS 6380 A.
  Note
t  The refrigerant must be extracted beforehand, e.g. with air conditioner service station -VAS 6380 A-.
t  The air conditioner service stations that have been used until today can still be used ⇒ Workshop service stations catalogue.
t  
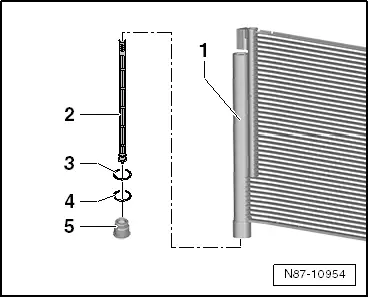
Close all of the refrigerant circuit components that are open using the proper covers to prevent moisture from entering.
t  The dryer cartridge need not be renewed each time the refrigerant circuit is opened. Refer to ELSA under → Air conditioning system with refrigerant R134a; Rep. gr.00.
Removal:
–  Partly remove front bumper in order to gain access to dryer cartridge → General body repairs, exterior; Rep. gr.63.
  WARNING
Danger from refrigerant escaping under pressure!
Freezing of skin and other body parts.
l  Evacuate the refrigerant and then open the refrigerant circuit immediately.
l  If more than 10 minutes have elapsed since evacuation and the coolant circuit has not been opened, evacuate the refrigerant again. Pressure builds up in the coolant circuit as a result of secondary evaporation.
  L87-10007
–  Unscrew cap -5- (5 Nm) using Torx 55 socket insert.
–  Pull dryer cartridge -2- out of condenser -1- using a suitable tool.
Installation
  N87-10954
–  Insert new dryer cartridge -2- into condenser -1-.
–  Seals -4- must be renewed.
–  Ensure proper seating of cap -5- (5 Nm).
Perform remaining installation in reverse order of removal.
  N87-10954

Removing and installing evacuating and charging valves on low and high-pressure side > < Removing and installing Doowon condenser