seat Workshop Repair Guides

SEAT Workshop Service and Repair Manuals

Removing and fitting the condenser > < Removing and installing high-pressure sender
Removing and installing expansion valve
Special tools and workshop equipment required
   
t  Torque wrench -V.A.G 1331/- (5…50 Nm)
  W00-0427
t  Air conditioner service station -SAT 4006 D- or model VAS 6380 A.
  Note
t  The refrigerant must be extracted beforehand, e.g. with air conditioner service station -VAS 6380 A-.
t  The air conditioner service stations that have been used until today can still be used ⇒ Workshop service stations catalogue.
t  Close all of the refrigerant circuit components that are open using the proper covers to prevent moisture from entering.
Removal:
  L87-10007
1 - Gasket between evaporator housing and plenum chamber bulkhead
2 - O ring
3 - Expansion valve
q   Aperture must be sealed against splashed water.
Uses
t  The expansion valve controls the flow and atomizes the refrigerant as it passes through, such that the vapour does not turn into gas until it leaves the evaporator, according to its heat content.
4 - O ring
5 - High-pressure refrigerant line
6 - Low-pressure refrigerant line
7 - Combination cylindrical bolt
q   5 Nm
8 - Bolts
q   12 Nm
q   Quantity 2 units
9 - O ring
10 - O ring

First carry out the following operations:
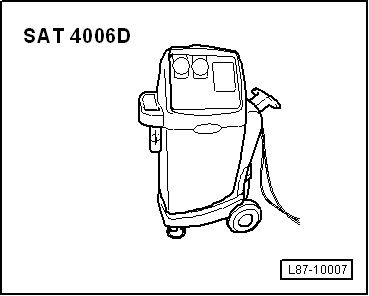
–  First evacuate refrigerant circuit using e.g. air conditioner service station -VAS 6380 A-. Then - and only then - open refrigerant circuit.
  Note
Releasing refrigerant into the environment is a punishable offence.
  WARNING
Danger from refrigerant escaping under pressure!
Freezing of skin and other body parts.
l  Evacuate the refrigerant and then open the refrigerant circuit immediately.
l  If more than 10 minutes have elapsed since evacuation and the coolant circuit has not been opened, evacuate the refrigerant again. Pressure builds up in the coolant circuit as a result of secondary evaporation.
–  Unscrew bolts -8-.
–  Pull out refrigerant lines -5- and -6-.
–  Unscrew bolts -7-.
–  Remove the expansion valve -3-.
Installation
t  Renew O-rings -2-, -4-, -9- and -10-.
Perform remaining installation in reverse order of removal.
   

Removing and fitting the condenser > < Removing and installing high-pressure sender