
Leon Mk1
|
|
|
|
|
 Note
Note
|
|
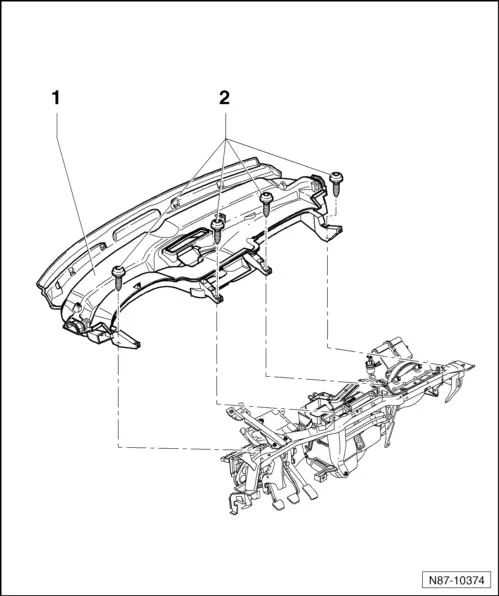
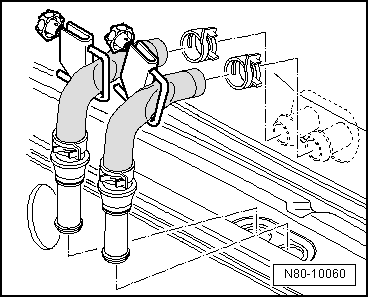
Note| For vehicles 06.00 ►, the air duct under the dash panel must also be removed. |
| – | Unscrew bolts (1.4 ± 0.2 Nm) -2- and remove air duct -1-. |
|
|
 WARNING
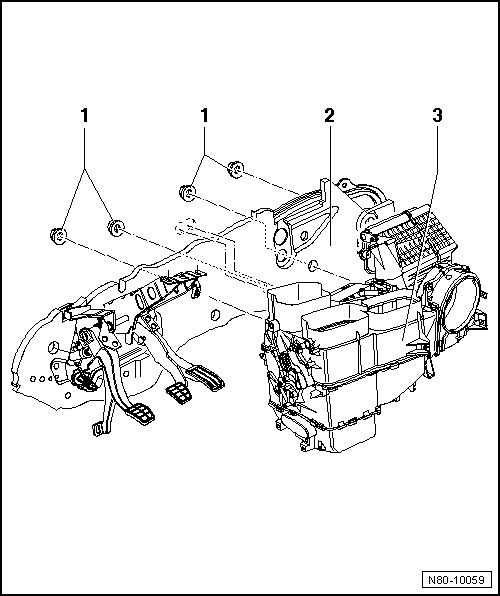
| 1 - | Hexagon nut |
| q | Qty. 4 |
| q | 4 Nm |
| q | Under protective sheet |
| 2 - | Bulkhead |
| 3 - | Heater unit |
| q | Dismantling and assembling heater unit → Chapter |
|