seat Workshop Repair Guides

SEAT Workshop Service and Repair Manuals

Dismantling and assembling differential > < Adjusting output shaft
5-speed manual gearbox 006
Removing and installing oil seals for drive shafts

(Gearbox installed)

  • ‒ Observe general repair instructions
    .
 
N37-0095

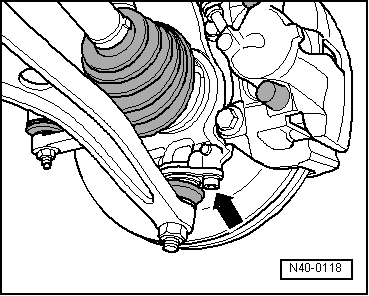
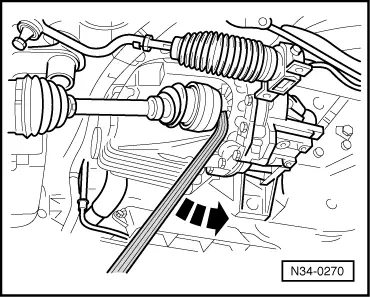
Removing

To renew the left or right-hand drive shaft oil seals the relevant drive shaft must be removed as follows:

  • ‒ → With the vehicle resting on its wheels loosen left-hand wheel hub/drive shaft bolt and left and right-hand wheel securing bolts.
  • ‒ Remove wheel

 
N40-0126

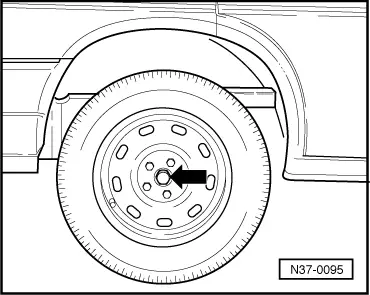
Loosen/remove left or right-hand wheel mounting as follows:

  • ‒ → Press track rod off steering arm.
  •     1 -    Hooks (commercially available) e.g. Kukko No. 1-90
  •     2 -    Puller (commercial available) e.g. Kukko No. 20-10
  • ‒ Tie track rod up.
 
N40-0118
  • ‒ → Separate bolted connection for wheel bearing housing/lower swivel joint.

 
N40-0110
  • ‒ → Remove coupling link -1- on shock absorber.
  • ‒ Remove brake hose and, if fitted, the ABS sensor cable from bracket on shock absorber.
  • ‒ Remove insulation tray below engine/gearbox, if fitted.
 
N34-0270
  • ‒ Place drip tray underneath.

When replacing left-hand oil seal:

  • ‒ → Lever left-hand drive shaft out from gearbox and pull out from wheel hub.

When replacing right-hand oil seal:

  • ‒ Pull right-hand drive shaft out from centre bearing by tugging outwards on wheel mounting.
  • ‒ Tie-up drive shaft as high as possible. Do not damage paint on drive shaft.

Vehicles up to January 97

 
N39-0274
  • ‒ → Unbolt centre bearing (arrows -A-) from mounting on engine block and pull shaft out from gearbox or lever out if necessary.
  • ‒ Unbolt bracket (arrow -B-) from engine block.

Vehicles from January 97

 
N34-0684
  • ‒ → Unbolt axle shaft bearing (arrows) and pull axle shaft out of gearbox.

 
N34-0685
  • ‒ → Remove engine/gearbox support -arrows 1 to 3-.
 
N39-0275

Continuation for all vehicles

  • ‒ → Pull seal out.

A - Internal puller, 36 - 48 mm e.g. Kukko 21/6

B - Counter support, e.g. Kukko 22/2

Note:

The left and right seals can be pulled out with the same tool.

Installing

 
N39-0276
  • ‒ → Drive new seal in onto stop, when doing this do not cant seal.

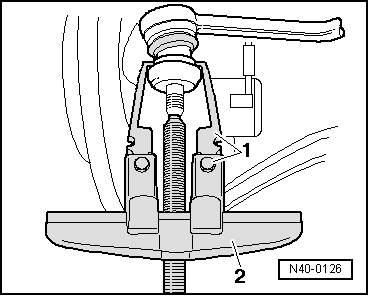
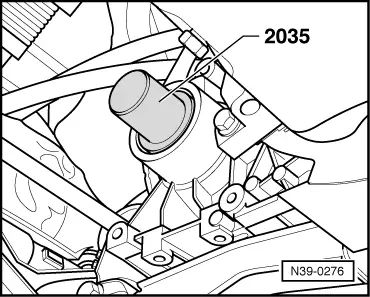
Note:

The left and right seals can be pressed in with the same tool.

  • ‒ Fill space between sealing lip and dust lip with multi-purpose grease.
  • ‒ On vehicles from January 97, tighten support in ascending order => Tightening torques Page .
  • ‒ Press left-hand differential drive shaft or right-hand axle drive shaft in with a new securing clip or drive in carefully with a synthetic head hammer.
  • ‒ Top gearbox oil up to lower edge of filler hole.

Gear oil specification => Page 00-2

Tightening torques

Shock absorber to coupling link

100 Nm

Wheel bearing housing to lower swivel joint

55 Nm

Drive shaft to wheel hub

200 Nm

Wheel bolts to wheel hub

140 Nm

Track rod to steering arm

30 Nm and turn 90°further

 
N39-0274

Vehicles up to January 97

Centre bearing to bracket (arrows -A-)

27 Nm

Bracket (arrow -B-) to engine

50 Nm

Vehicles from January 97

 
N34-0685

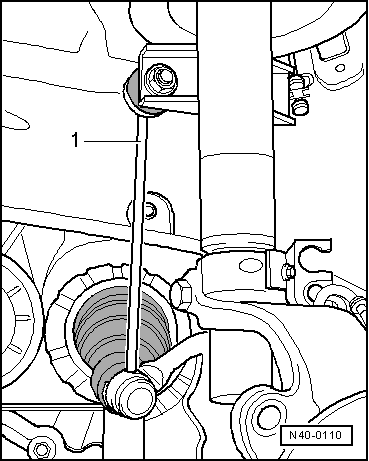
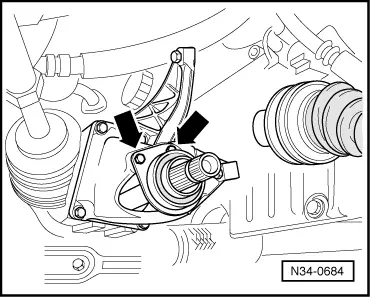
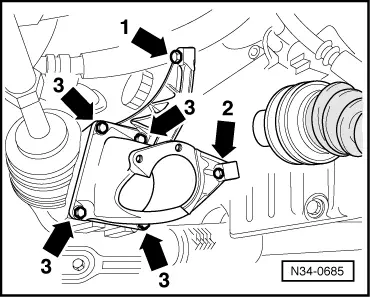
→ Support to engine/gearbox

Bolt -1-

45 Nm

Bolt -2-

20 Nm

Bolt -3-

45 Nm

  • ‒ First tighten bolts -arrows1 to 3- in ascending order hand tight, then tighten to tightening torque.

 
N34-0684

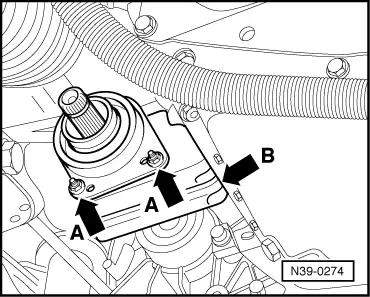
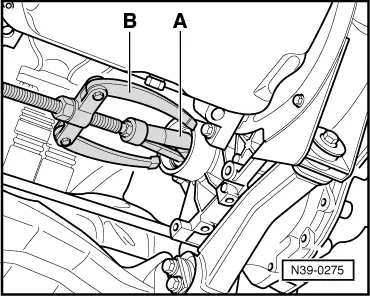
→ Axle shaft bearing to support

Bolts (arrows)

20 Nm

Dismantling and assembling differential > < Adjusting output shaft