
Leon Mk1
| Free wheel with piston -B1-: dismantling and assembling |

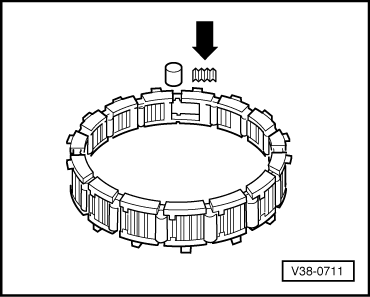
| 1 - | Roller |
| q | Fitting → Fig. |
| 2 - | Springs |
| q | Fitting → Fig. |
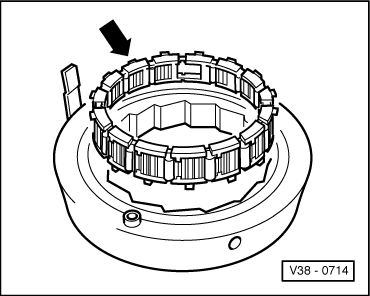
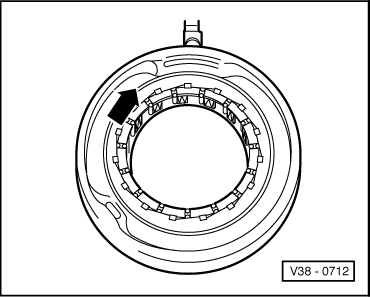
| 3 - | Cage |
| q | Fitting → Fig. |
| q | Securing → Fig. |
| 4 - | Outer ring |
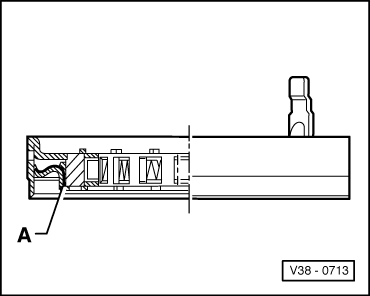
| 5 - | Piston |
| q | The sealing lips are fixed by vulcanisation to the piston |
| q | Before fitting, apply ATF to the sealing lips |
| q | When fitting the piston, turn it slightly |
| q | Fitting position → Fig. |
|
|
|
|
|
|
|
|