seat Workshop Repair Guides

SEAT Workshop Service and Repair Manuals

Enginecrankshaft group, pistons > < Removing and positioning the engine
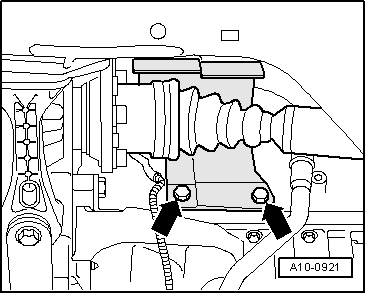
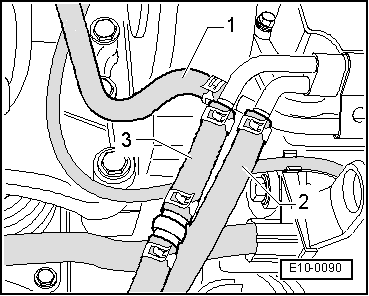
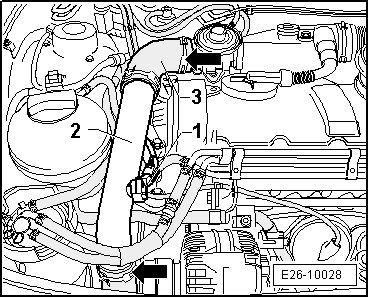
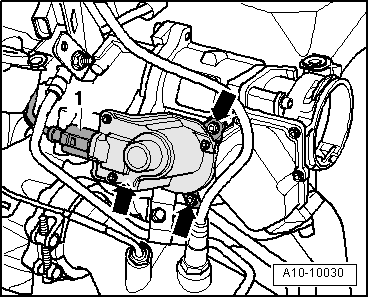
Remove the engine (Engine code BMS)
  Note
t  To carry out this work it will be necessary to disconnect battery earth strap. For this purpose, first check whether a coded radio is fitted. Where necessary, check the anti-theft coding first.
t  
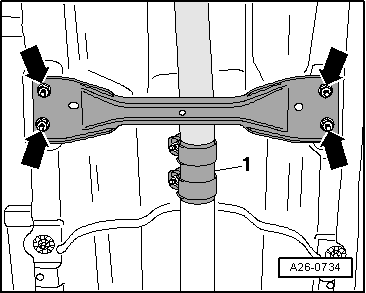
The engine is removed from underneath together with the gearbox.
t  
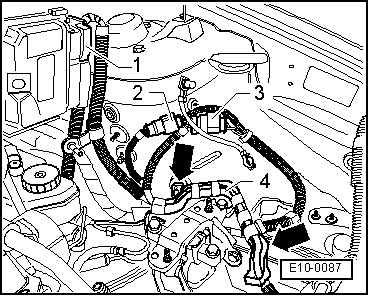
All cable ties which are opened or cut through when engine is removed must be replaced in the same position when engine is installed.
t  
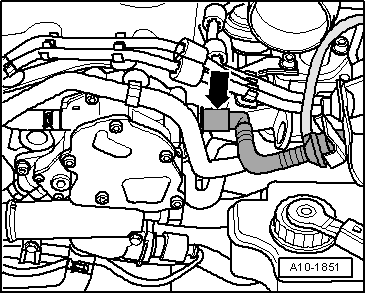
Collect drained coolant in a clean container for re-use or disposal.
t  
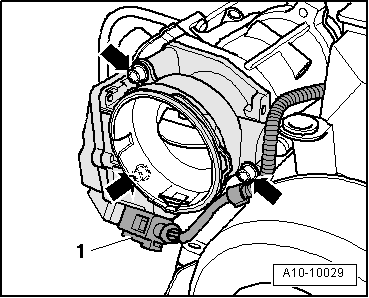
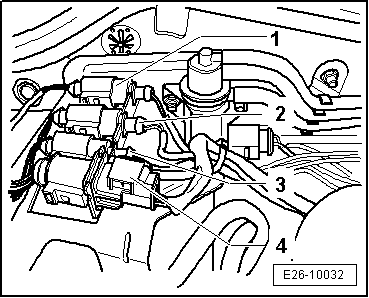
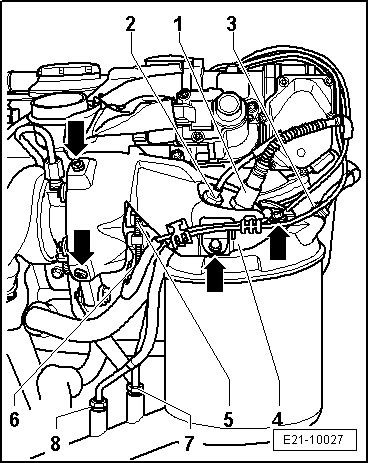
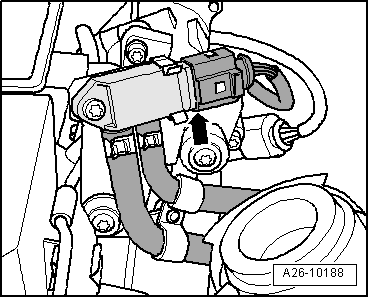
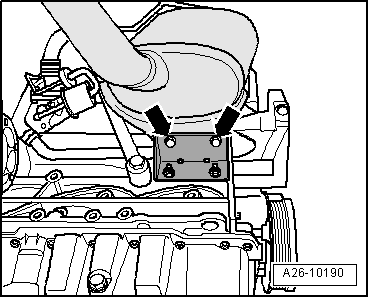
Some components can not be removed, or only with a great deal of difficulty, while the engine is mounted. Therefore the fault memory should be consulted → Chapter, to detect all the faulty components while the engine has been removed, and to replace them before the engine is reassembled.
   
Operation process
–  Detach the outer -1- and inner -2- engine covers, by pulling them evenly upwards.
  WARNING
Observe safety precautions when disconnecting the battery → Electrical system; Rep. gr.27.
–  With ignition switched off, disconnect earth connection from battery.
  WARNING
Hot vapour/hot coolant may escape when opening expansion tank. Cover cap with cloth and open carefully.
–  Open the Sealing plug of the coolant expansion tank.
–  Remove front right-hand wheel.
–  Remove front right hand side wheel housing moulding → Bodywork, exterior fitting work; Rep. gr.63.
  E01-10018
–  Remove the central soundproofing → Bodywork, exterior installation work; Rep. gr.50.
  E10-0086
–  Unscrew the bolts -arrows- and remove the heat protecting plate.
–  Remove the right articulated drive shafts → Running gear, shafts, steering; Rep. gr.40.
–  Drain coolant → Chapter.
  WARNING
The fuel and the fuel lines may become excessively hot (burn risk).
The fuel supply system is also under pressure. Before opening the system, place a cloth over the junction and depressurise the system by gently loosening.
For all assembly work carried out on the fuel supply system, protective glasses and gloves must be worn!
  A10-0921
–  Separate the fuel feed and return lines -2- and -3- .
–  Separate the coolant lines -1- .
  E10-0090
–  Remove supercharging tube -2- with connecting hose -3-, releasing the brackets -arrows-.
–  Disconnect connection -1- from the intake manifold air pressure sender -G71-.
  E26-10028
–  Disconnect the electrical connector -1- on the exhaust gas recirculation valve -N18- with the potentiometer for regulating exhaust gases -G212-.
–  Remove the electrical harness from the brackets and move to one side.
–  Remove bolts -arrows-.
–  Remove the exhaust gas recirculation valve -N18- with the potentiometer for exhaust gas recirculation -G212- from the intake manifold.
  Note
For improved understanding, it is shown from the rear in the illustration with engine removed.
  A10-10030
–  Detach electrical connector -1- of the engine intake manifold flap -V157-.
–  Unscrew the bolts -arrows- and remove the intake manifold flap motor -V157-.
  A10-10029
–  Detach the connector -4- from the lambda probe -G39- and the connector -3-sender 2 of exhaust gas temperature, row 1 -G448-.
–  Disconnect the electrical connector -1- for temperature sender -1 of the exhaust gas -G235-.
  E26-10032
–  Unscrew the lambda probe -G39--1- with the lambda probe ring spanner -3337-.
–  Unscrew the Sender 2 of exhaust gas temperature, row 1 -G448--2- and the pressure tube -3- from the particulate filter.
–  Unscrew the bolts -arrows- and remove the particulate filter protection -4-.
–  Unscrew the brackets -5- of the particle filter.
–  Unscrew the pressure hoses -7- towards the pressure sensor 1 of the exhaust gases -G450-.
–  Loosen the exhaust temperature sensor after particle filter -G527--8-,behind the particle filter.
  E21-10027
–  Disconnect the electrical connector -arrow- for temperature sender 1 of the exhaust gases -G450-.
–  Unscrew exhaust gas pressure sensor 1 -G450- and remove together with the pressure hoses.
  A26-10188
–  Unscrew the nuts on the double clamp -1-.
  Note
The flexible pipe connection (de-coupling element) in the front exhaust pipe must not be bent more than 10° - otherwise it can be damaged.
  A26-0734
–  Remove the support bolts of the particle filter and the engine block, and remove the support.
–  Free the front exhaust section from the tunnel bridge → Item
  Note
t  The mounting on the front section of the exhaust pipe with particle filter should not be bent by more than 10° otherwise there is a risk of damage.
t  Pay attention to the electrical connections and routing the cables without damaging.
–  Remove the front part of the exhaust pipe with the particulate filter and place it on the power steering.
–  Remove battery and battery retainer: → Electrical system; Rep. gr.27
–  Remove air filter → Chapter.
–  Remove coolant hoses from radiator.
–  Separate the coolant tubes going to the heat exchanger.
–  Separate the refrigerant tube from the coolant expansion tank.
  A26-10190
–  Extract the vacuum hose to the brake servo from the tandem pump -arrow-.
–  Release all low pressure hoses.
  A10-1851
–  Remove the connector -1- of the engine control unit and connectors -2- and -3-, unfasten -arrows- the cable mounting -4- (depending on vehicle equipment).
–  Unscrew the earth connection on the front left strut.
  E10-0087
–  Unplug connector -2-.
–  Unscrew the electrical cable nut -1- and the cable bracket.
  A13-0361
–  Unscrew the earth wire -1-.
–  Remove the lines -2- and -3- of the starter.
  A10-1577
–  Separate the connector -3- and remove it from the bracket -1-.
–  Remove the electric reverse gear switch from the gearbox.
–  Unplug the coolant fan thermal switch -F18- connector and the radiator fan connector.
–  Move all electric cables to one side.
–  Remove the gear control cables from the gearbox → Rep. gr.34
–  Remove the clutch master cylinder without opening the hydraulic circuit, and leave to one side (the clutch pedal should not be pressed) → Rep. gr.30
  Note
Do not press the clutch pedal
–  Remove front bumper covering → Bodywork, exterior installation work; Rep. gr.63.
–  Bring lock plate carrier into service position: → Bodywork, exterior fitting work; Rep. gr.50.
Vehicles with air conditioner.
  Caution
The air conditioning refrigerant circuit must not be opened.
To avoid damage to the condenser and refrigerant pipes/sleeves, take care not to bend, twist or stretch the pipes/sleeves excessively.
  Note
For removal and installation of the engine there is no need to open the refrigerant circuit.
–  Remove the clip/s from the refrigerant hose/s.
  E10-0092
–  Disconnect electrical connection -1- for magnetic coupling on air conditioner compressor.
–  Remove compressor bolts -arrows-.
  A10-1637
–  Leave the air conditioning compressor with refrigerant hoses still connected suspended above, secure it to the lock carrier plate; take special care not to damage the system.
  E10-0015
Continued for all vehicles
–  Loosen the bolts -arrows- fastening the mountings to the engine by a couple of turns.
  E10-0091
–  Loosen the bolts -arrows- fastening the mountings to the gearbox by a couple of turns.
–  Remove the connection tube between the intercooler and the exhaust gas turbocharger → Item .
  WARNING
Cover the intercooler opening, for example, using a clean cloth made of spongy material so that coolant does not enter.
  E10-0088
–  Unscrew bolts -arrows- and remove pendulum arm support.
–  Remove left wheel drive shaft from the gearbox and support in a raised position:
–  Insert hydraulic jack -SAT 1040- with adapter -SAT 1040/1- in engine bracket -T40076- and raise lightly.
  E10-0100
–  Fasten the engine bracket -T40076- with the fastening nut -1- and a bolt -2- (M10 x 30 mm). Use a nut (M12 x 20 mm) to gauge the distance to the engine block -3- only for vehicles without air conditioning.
  Note
To unscrew the bolts for gearbox mounting use the step ladder.
  E10-10039
–  Remove bolts -arrows- fastening mountings to engine.
  E10-0091
–  Remove bolts -arrows- fastening mountings to gearbox.
  Note
t  Ensure that all hose attachments and tubes between the engine, gearbox and the body have been loosened.
t  To avoid damage, guide the engine/gearbox mounting carefully when lowering.
–  Carefully lower the engine and gearbox.
–  Pull engine/gearbox assembly as far as possible forwards and lower it slowly downwards.
  E10-0088

Enginecrankshaft group, pistons > < Removing and positioning the engine