seat Workshop Repair Guides

SEAT Workshop Service and Repair Manuals

Exhaust system > < Injection system
Removing and installing rail element (high-pressure reservoir)
Consult the equivalence table for tools and equipment according to applicability among Seat / VW / Audi / Skoda → Chapter.
   
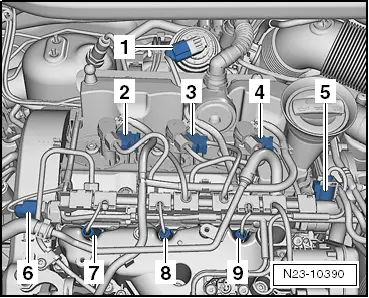
Special tools and workshop equipment required
t  Torque wrench -V.A.G 1331-, see equivalent → Anchor.
t  Ratchet -V.A.G 1331/1-, see equivalent → Anchor
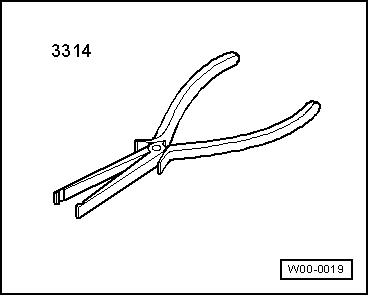
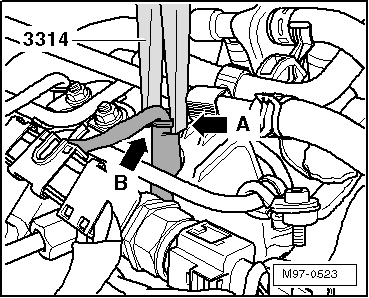
t  Pin tool e/c 17 -V.A.G 1331/6-, see equivalent → Anchor
t  Measuring container -T40055-, see equivalent → Anchor

   
t  Base -3314-, see equivalent → Anchor
»Carry out the following work sequence«
Removal:
  WARNING
t  First read through the rules for cleanliness and the instructions for working on the fuel system → Chapter.
t  Follow these instructions and rules for cleanliness before starting work and while working on the fuel system.
–  Remove engine cover panel → Chapter.
–  Unscrew bolt -3- from retainer for high-pressure line.
  W00-0019
–  Unscrew fuel return line bolts -arrows-.
  N23-10368
–  Remove fuel high-pressure line -2-; loosen union nuts on high-pressure pump -5- and rail element (high-pressure accumulator) -1- to do this.
  N23-10355
–  Open cable guide fasteners -arrows- to free wiring harness.
  N23-10369
–  Position pliers -3314- with groove -arrow A- on support sleeve shoulder -arrow B-.
  M97-0523
–  Carefully pull connectors off glow pin plugs -in direction of arrow-.
  M97-0524
–  Pull off the electrical connectors -1...6-.
–  Replace the seals of the connectors -2-, -3-, -4- → Item → ETKA (Electronic parts catalogue).
  Caution
t  Mark allocation of high-pressure fuel lines to cylinders; they must only ever be reused on the same cylinder.
t  Observe rules for cleanliness when working on the injection system.
t  The open connections must be sealed immediately with a suitable cap.
–  Remove high-pressure lines between injectors (solenoid valve injectors) and rail element (high-pressure accumulator).
–  Place the removed high-pressure lines on a clean cloth.
  N23-10390
–  Remove rail element (high-pressure accumulator); unscrew the two bolts -arrows- to do this.
Installation
Installation is carried out in the reverse sequence; note the following:
  N23-10354
–  Tighten securing bolts -arrows- first to Max. Tighten 1 to 2 Nm.
l  It must be possible to move the rail so the hoses can be fitted free of tension.
–  Install high-pressure pipes → Chapter.
  Note
t  Renew retaining clips.
t  Note identification marks for cylinder allocation when re-installing high-pressure pipes.
t  The high-pressure pipes can be re-used after performing the following checks:
t  Check taper seal of high-pressure line for deformation and cracks.
t  The bore of the pipe must not be distorted, restricted or otherwise damaged.
t  Corroded lines should no longer be used.
t  Tightening torques: Fuel system - Assembly overview → Chapter.
  N23-10354

Exhaust system > < Injection system