seat Workshop Repair Guides

SEAT Workshop Service and Repair Manuals

Oil pump: removing and installing > < Assembly overview - sump / oil pump
Removing and installing oil sump
Special tools and workshop equipment required
   
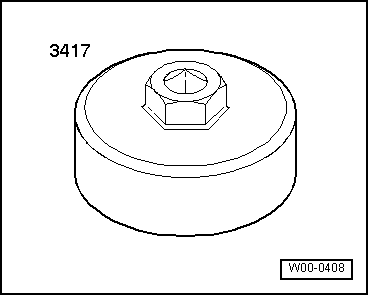
t  Oil filter tool -3417-
  W00-0408
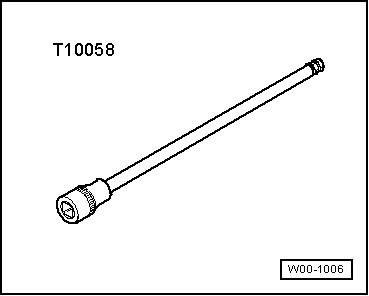
t  Multi-point bit -T10058-
  W00-1006
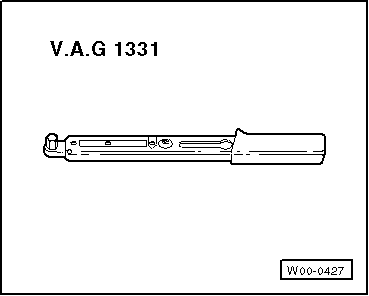
t  Torque wrench -V.A.G 1331-
t  Electric drill with plastic brush
t  Flat scraper
t  Silicone sealant D 176,501 A1
Removal:
–  Drain off engine oil.
–  Remove oil filter with oil filter tool -3417-.
Remove poly V-belt → Chapter.
Only vehicles with air conditioner
  Note
t  The air conditioning system lines must not be opened.
t  Prevent damage to condenser and refrigerant lines and hoses.
t  Do NOT stretch, kink or bend lines and hoses.
–  Remove air conditioner compressor → Heating, air conditioning; Rep. gr.87
–  Secure AC compressor to lock carrier.
Make sure lines are not kinked.
  W00-0427
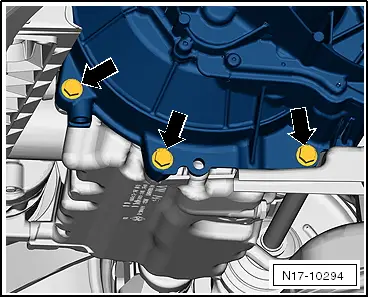
–  Remove securing bolt -arrows- for gearbox.
  N17-10294
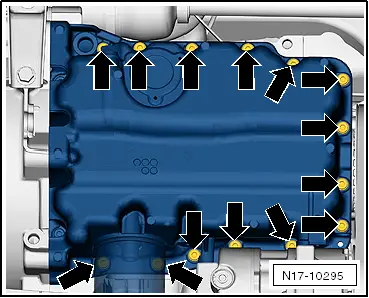
–  Unscrew all sump securing bolts -arrows-.
  N17-10295
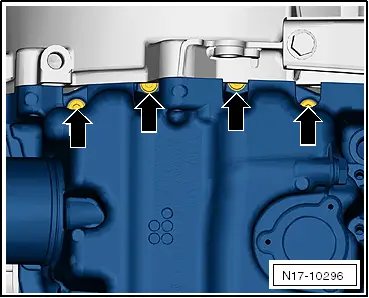
–  Unscrew sump securing bolts on gearbox side -arrows- using Allen key, long reach -T10058-.
  Note
t  The sump is sealed with liquid sealant.
t  When hardened, the sealant has a high adhesive strength.
  N17-10296
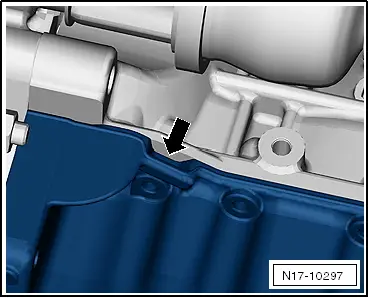
–  Carefully lever off sump from cylinder block at recess -arrow- using assembly lever.
–  Remove oil pan. Loosen sump with light blows of a rubber headed hammer if necessary.
–  Remove sealant remaining on cylinder block with flat scraper.
  N17-10297
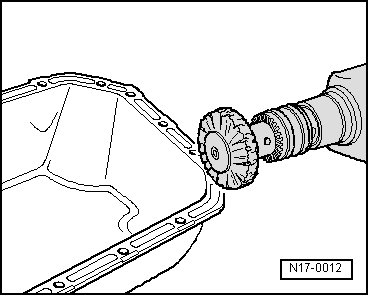
–  Remove sealant residues on sump with a rotating brush, e.g. an electric drill with plastic brush attachment (wear eye protection).
–  Clean sealing surfaces. They must be free of oil and grease.
Installation
  Note
t  Observe use-by-date of sealant.
t  The sump must be installed within 5 minutes of applying silicone sealing compound.
t  The sump can be positioned more easily and with greater security if M6 studs are inserted into the cylinder block flange at two positions as guides.
  N17-0012
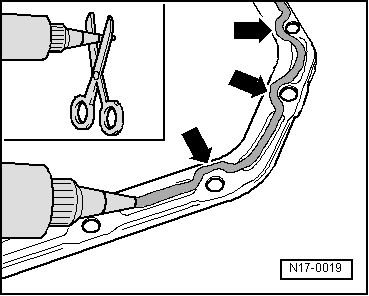
–  Cut off tube nozzle at upper marking (nozzle Ø: approx. 3 mm).
–  Apply silicone sealant to clean sealing surface of sump as shown.
The strip of sealant must:
t  2…3 mm thick.
t  Run bead along inner side of bolt holes -arrows-.
  Note
The sealant bead must not be thicker. Otherwise the excess sealant may enter the oil sump, and obstruct the strainer in the oil intake pipe.
–  Fit sump immediately and lightly tighten all sump securing bolts.
–  Tighten new sump securing bolts to 8 Nm + turn 90° further.
Tightening torque of the gearbox screws: → Rep. gr.34.
  Note
Starting can be carried out 30 minutes after applying the sealant to the oil sump. Only then should the engine be refilled with oil.
–  Fill oil filter with engine oil and tighten it with oil filter tool -3417-.
Tightening torque: 20 Nm
–  Fill engine oil.
Engine oil capacity → Chapter.
–  Install air conditioner compressor → Heating, air conditioning; Rep. gr.87.
Install poly V-belt → Chapter.
Further assembly is basically the reverse of the dismantling sequence.
  N17-0019

Oil pump: removing and installing > < Assembly overview - sump / oil pump