seat Workshop Repair Guides

SEAT Workshop Service and Repair Manuals

Removing and installing catalytic converter > < Removing and installing Lambda probe after catalytic converterG130
Removing and installing catalytic converter
Special tools and workshop equipment required
   
t  Torque wrench -V.A.G 1331-
Carry out the following work:
Removal:
–  If necessary, disconnect exhaust system → Chapter.
  W00-0427
–  If fitted, loosen clamp -arrows-.
  V26-0733
–  Unscrew securing bolts -1-.
–  Unscrew securing bolt → Item from catalytic converter and remove bracket -2-.
  N10-10661
–  Remove securing nuts -arrows- and pull catalytic converter off stud bolts.
  Note
Qty. 4 → Item.
  N10-10662
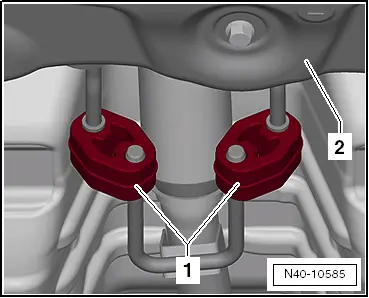
–  Pull retaining rings -1- for exhaust pipe off subframe -2-.
Installation
Installation is in the reverse sequence of removal. Note the following:
Adhere to assembling sequence → Chapter.
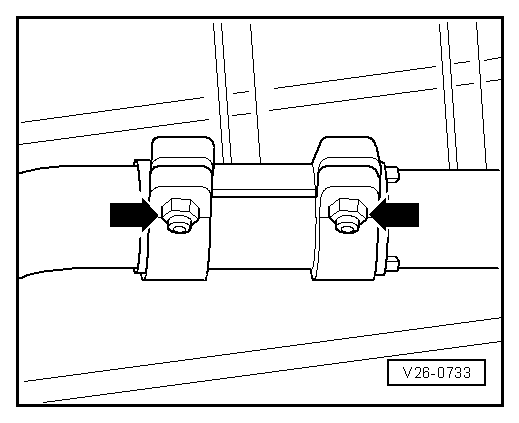
Note installation position of clamp → Chapter.
  Note
t  After working on the exhaust system, ensure that the system is not under stress and that there is sufficient clearance to the bodywork. If necessary, loosen the double clamp and align the silencer and the exhaust pipe so that there is always a sufficient distance to the bodywork and is evenly distributed over the suspension elements.
t  
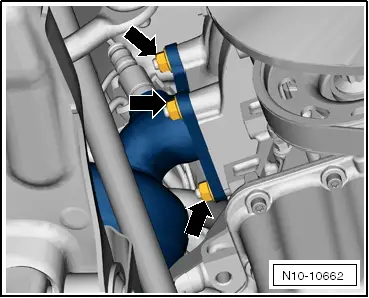
Renew self-locking nuts.
t  Before installing, coat threads of lock nuts and stud bolts with high-temperature paste -N 052.112.00- according to TL 521 12.
  N40-10585
Tightening torque:
ComponentSpecified torque .
Oxidizing catalytic converter → Chapter „Assembly sequence for mounting catalytic converter to cylinder head“
Attachment bush → Chapter „Installation position of clamp“


Removing and installing catalytic converter > < Removing and installing Lambda probe after catalytic converterG130