| –
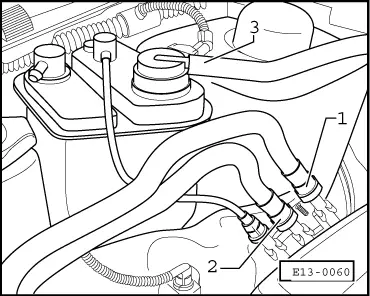
| Disconnect fuel supply -1- and fuel return lines -2- at the connecting points. The fuel system is under pressure. Before disconnecting at hose connection, wrap a cloth around the connection and release pressure by carefully pulling hose off the connection. |
| –
| Seal lines so that no dirt may enter the fuel system. |
| –
| Pull hose -3- off activated charcoal filter canister solenoid valve -1-. |
| –
| Disconnect front exhaust pipe from exhaust manifold → Chapter, Removing exhaust system, front exhaust pipe with catalytic converter and attachments/ancillaries. |
| –
| Remove, release or disconnect the following components: |
| t
| oil pressure sensor connector |
| t
| Hall sender connector on ignition distributor |
| t
| throttle valve control part connector |
| t
| high voltage cables/wiring, terminal 4 on ignition distributor |
| t
| earth strap to ignition transformer at bracket |
| t
| vacuum hoses from fuel pressure regulator |
| –
| Remove intake manifold securing bolts to cylinder head and lift manifold out to rear |
| –
| Remove ignition distributor. |
| –
| Remove spark plug connectors and ignition/HT. wiring. |
| –
| Remove toothed belt guard upper cover. |
| –
| Release clamp on thermostat housing securing coolant hose to coolant pump. |
| –
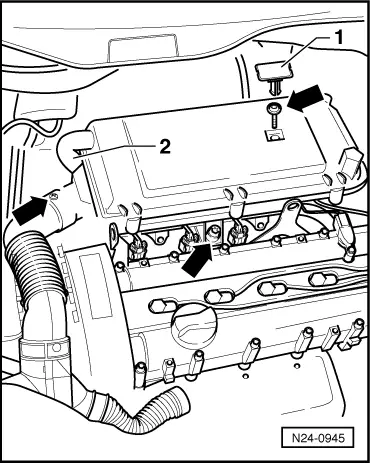
| Remove cylinder head cover. |

Note! | Loosen and tighten the cylinder head cover securing bolts one after the other from inside to outside. |
|
|
|