seat Workshop Repair Guides

SEAT Workshop Service and Repair Manuals

Assembly overview - crankcase > < Removing and installing ancillary bracket
Removing and installing vibration damper
t  Removing → Anchor
t  Installing → Anchor
t  Tightening torques → Anchor
Consult the equivalence table for tools and equipment according to applicability among Seat / VW / Audi / Skoda → Chapter.
Special tools and workshop equipment required
   
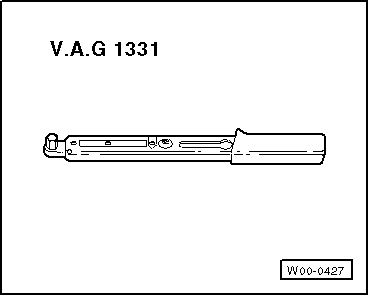
t  Torque wrench -VAG 1331-, see equivalent → Anchor.
Removing
–  Remove poly V-belt → Chapter.
  W00-0427
–  Remove the vibration damper hood.
–  Unscrew bolts -arrows-. In doing so, counterhold the vibration damper using a ring spanner.
  Note
To loosen and to tighten the vibration damper, hold it on the centre bolt using a ring spanner.
Installing
Installation is carried out in reverse order, noting the following:
–  Use new bolts.
  A13-10644
–  When installing the vibration damper, use only genuine bolts (same as original equipment): → Parts catalogue.
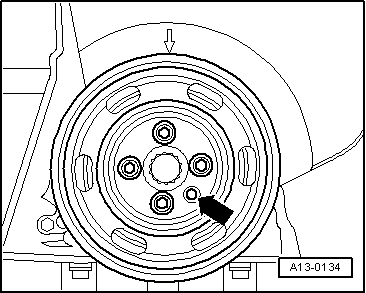
l  Fitting can only be completed in one position only: The hole -arrow- in the vibration damper must fit over the projection on the pulley.
Tightening torques
  A13-0134
ComponentNm
Vibration damper to the crankshaft notched pulley10 + 90° 1) 2)

1) Renew bolts
2) 90° is equivalent to a quarter turn
   

Assembly overview - crankcase > < Removing and installing ancillary bracket