
Leon Mk1
| Removing and installing sump |
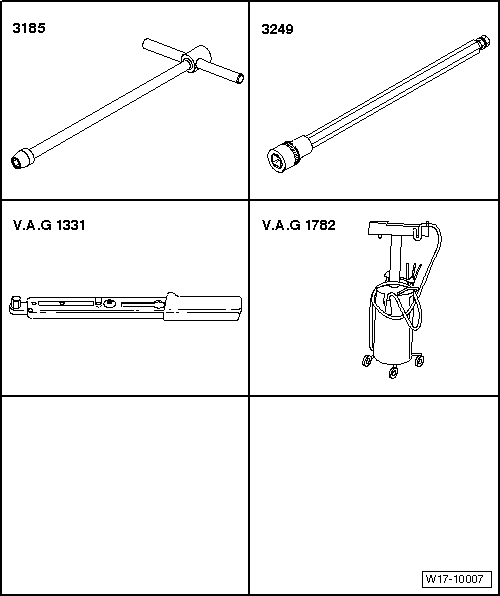
| Special tools and workshop equipment required |
| t | U/J extension and socket, 10 mm -3185- |
| t | Tool insert 5 mm -3249- |
| t | Torque wrench (5...50 Nm) -V.A.G 1331- |
| t | Used oil collection and extraction unit -V.A.G 1782- |
 Note
Note
|
|
|
 WARNING
Note
|
|
Note
|
|
Note
Note
|
|
|
|