
Leon Mk1
|

| Special tools and workshop equipment required |
| t | Extractor -SAT 1100-, see equivalent → Anchor |
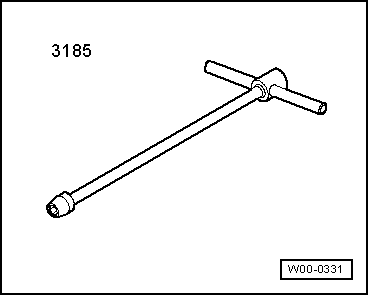
| t | Spanner -T10058-, see equivalent → Anchor |
| t | Torque wrench (5 - 50 Nm) -V.A.G 1331-, see equivalent → Anchor |
|
|
|
|
|
|
 Note
Note
|
|
|

|
|
|
|
|
 Caution
 WARNING
Note |
|
|
|
Note
|
|
|
|
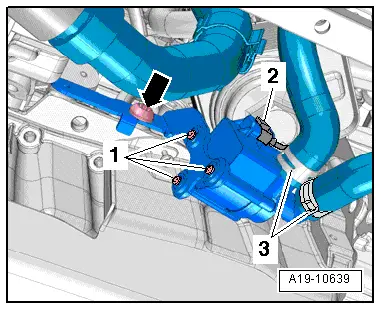
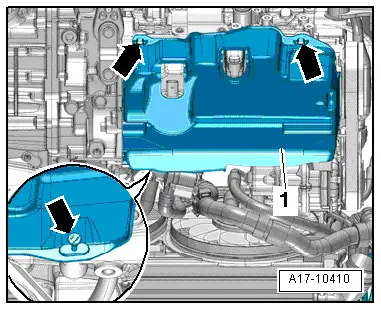
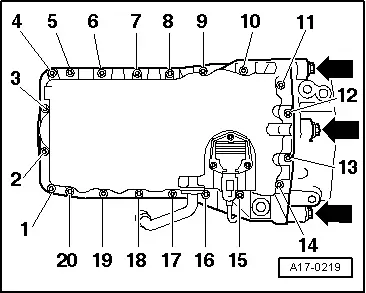
| stage: | Bolts | Specified torque |
| 1. | -1 … 20- | diagonally, 5 Nm |
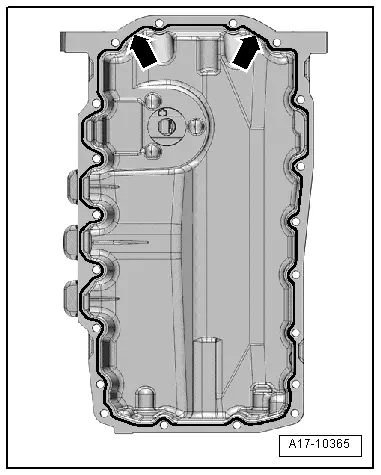
| 2. | -arrows- | 40 Nm |
| 3. | -1 … 20- | in diagonal sequence, in stages and finally to 15 Nm |
Note
|
|
|