seat Workshop Repair Guides

SEAT Workshop Service and Repair Manuals

Separating centre and rear silencers > < Silencer: Component overview (CDND)
Removing and installing catalytic converter
t  Removing → Anchor
t  Installing → Anchor
Removing
  Note
The cable ties must be installed in their same place again.
   
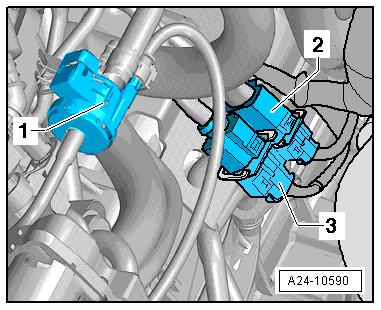
–  Unplug electrical connector for Lambda probe after catalytic converter -G130- and Lambda probe 1 heater after catalytic converter -Z29- and move electrical wiring clear.
–  Unplug electrical connector for Lambda probe -G39- and Lambda probe heater -Z19- and move electrical wiring clear.
  A24-10590
–  Loosen the bracket -1-, disconnect the air hose and swivel to the side.
–  Disconnect the connector -2- from the air mass meter -G70-.
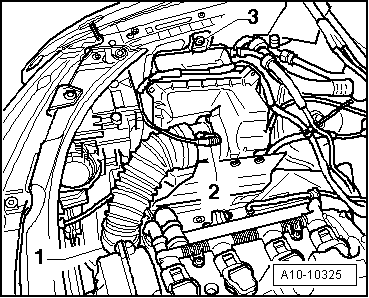
–  Unclip cable harness from air cleaner housing and lay down to side.
–  Loosen the circlip -3- and remove the air filter housing.
–  Pull upward to loosen lower mounts and to remove air cleaner housing.
  A10-10325
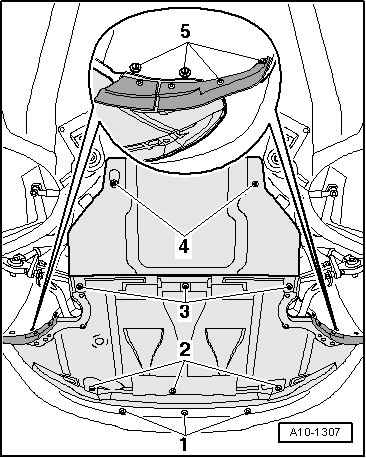
–  Loosen the fasteners -2-, -3- and -5- and remove the front noise insulation.
  Note
Never bend the damping element on the front section of the exhaust pipe with particulate filter more than 10°, otherwise it can be damaged.
  A10-1307
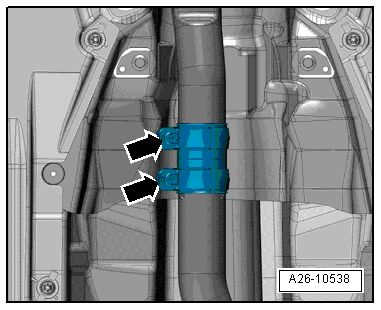
–  Loosen clamping sleeve -arrows- and push to rear.
  A26-10538
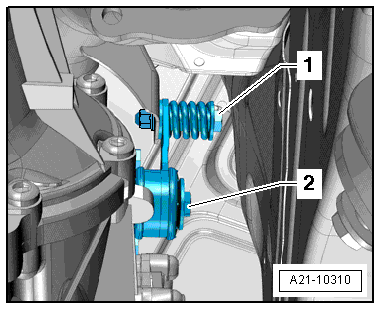
–  Unfasten connection -1-, remove bolt -2- and take out mounting for catalytic converter.
  A21-10310
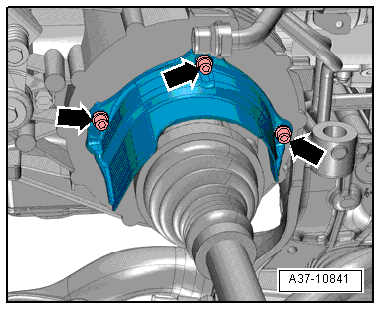
–  Remove bolts -arrows- and detach heat shield for drive shaft (right-side).
  A37-10841
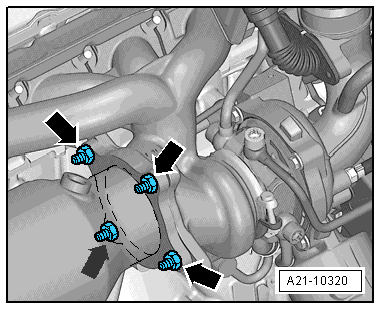
–  Remove nuts -arrows- and lift out turbocharger upwards.
Installing
Installation is carried out in the reverse sequence; note the following:
Tightening torques → Chapter
  Note
Always gaskets and self-locking nuts.
  A21-10320
–  Tighten clamping sleeve -arrows-.
  A26-10538

Separating centre and rear silencers > < Silencer: Component overview (CDND)