seat Workshop Repair Guides

SEAT Workshop Service and Repair Manuals

Timing chain - Assembly overview > < Remove and install the bottom cover of the timing chain
Replace the sealing ring of the vibration damper
Removing → Anchor.
Installing → Anchor.
   
Consult the equivalence table for tools and equipment according to applicability among Seat / VW / Audi / Skoda → Chapter.
Special tools and workshop equipment required
t  Interlocking mandril -T10060 A-, see equivalent → Anchor
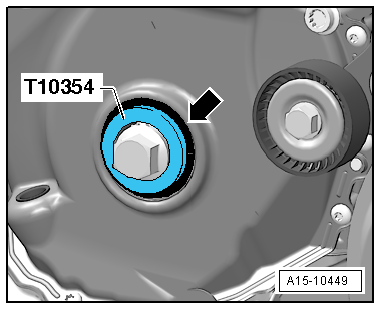
t  Tappet -T10354-, see equivalent → Anchor
t  Spanner -T10355-, see equivalent → Anchor
t  Torque wrench -V.A.G 1331-, see equivalent → Anchor.
t  Torque wrench (40 - 200 Nm) -V.A.G 1332-, see equivalent → Anchor

   
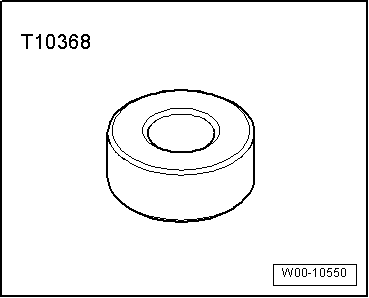
t  Tappet -T10368-
  W00-10550
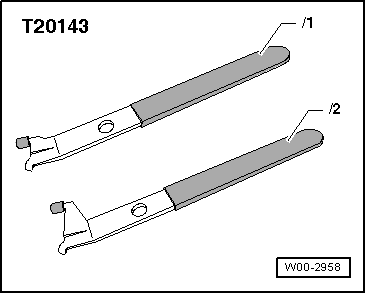
t  Extractor -T20143/2-, see equivalent → Anchor
Removing
  W00-2958
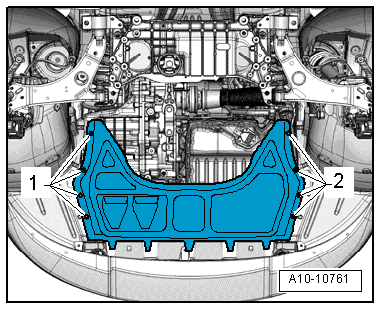
–  Release the fasteners -1 and 2- to remove the central soundproofing sump.
  A10-10761
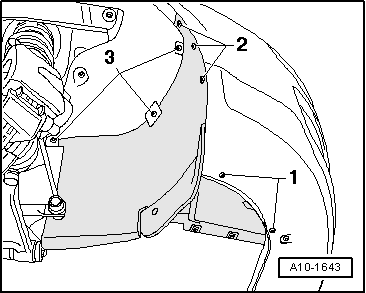
–  Remove the right hand side soundproofing by releasing the attachments -1, 2, 3-.
  A10-1643
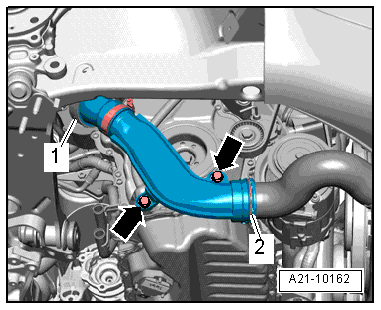
–  Remove bolts -arrows-.
–  Detach the air conduit tube, releasing the clips -1 and 2-.
  Caution
If the poly V-belt runs in the opposite direction when it is refitted, this can cause breakage.
Before removing, mark direction of rotation of toothed belt with chalk or felt-tip pen for re-installation.
  A21-10162
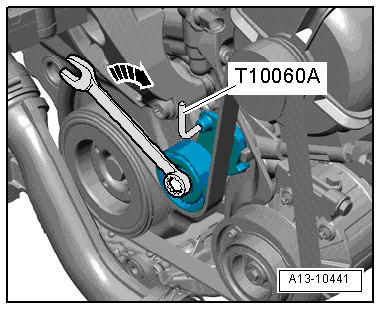
–  To release tension on the Poly-V belt, turn the tensioning device in the -direction of the arrow-.
–  Secure tensioner with locking pin -T10060 A-.
–  Remove the Poly V belt from the alternator pulley.
  Caution
Risk of damage to engine.
To preserve the adjustment values, the crankshaft must not be moved from the TDC position („OT“) while the vibration damper has been removed.
  A13-10441
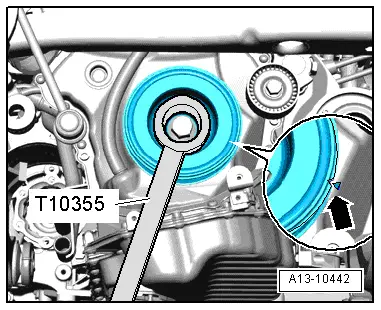
–  Rotate the vibration damper with the wrench -T10355- to the TDC position („OT“) -arrow-.
l  The notch on the vibration damper should face the mark -arrow- on the lower cover of the distribution chains.
–  Unscrew the vibration damper bolt using the wrench -T10355-.
–  Remove vibration damper.
  Note
To protect the teeth, tighten the vibration damper bolt only with the bushing -T10368-
  A13-10442
–  Re-tighten the vibration damper and the bushing -T10368-
–  Remove the seal using the extraction lever -T20143/2-.
Fitting
l  Tightening torques → Chapter
–  Clean contact surface and sealing surface.
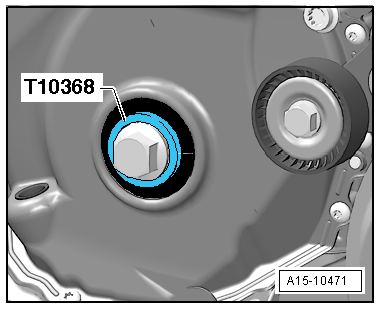
  A15-10471
–  Fit the seal to the stopper -arrow- with the press -T10354- and the vibration damper bolt.
  Note
t  Replace the vibration damper bolt.
t  Renew O-ring.
The remaining installation steps are carried out in the reverse sequence. Note the following:
–  Install vibration damper → Chapter.
–  Install poly V-belt → Chapter.
  A15-10449

Timing chain - Assembly overview > < Remove and install the bottom cover of the timing chain