seat Workshop Repair Guides

SEAT Workshop Service and Repair Manuals

Removing and installing poly V-belt > < Crankshaft dimensions
Removing and installing poly V-belt
Special tools and workshop equipment required
   
t  Locking pin -T10060 A-
t  16 mm open-end spanner -T10447- (not shown)
t  4 mm Allen key
Removal:
  Note
The belt drive can be fitted with a tensioning element and a idler roller or with two tensioning elements.
–  Remove noise insulation.
–  Now, mark direction of rotation of poly V-belt.
  W00-10235
–  Open the fastening clip of the refrigerant line -arrow-.
  N13-10477
Vehicles with two tensioning elements
–  To slacken poly V-belt, swivel tensioning element in direction of -arrow- from above using 16 mm open-end spanner -T10447-.
–  Lock tensioning element using locking pin -T10060 A-.
  N13-10470
All other vehicles continued
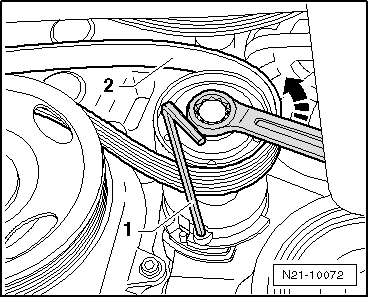
–  To slacken poly V-belt, swing tensioning element in direction of -arrow- from below using 16 mm open-end spanner.
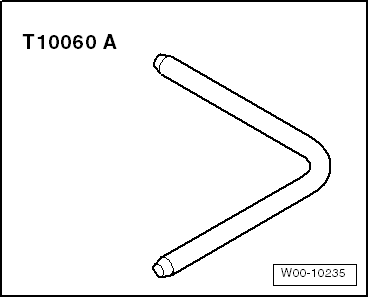
–  Lock tensioning element with a 4 mm Allen key -1-.
–  Remove poly V-belt -2-.
Installation
  Caution
Before installing poly V-belt, ensure that all ancillaries (alternator, air conditioning compressor) are secure.
When installing poly V-belt, observe direction of rotation and make sure it is properly seated on pulleys and tensioning elements.
–  Fit poly V-belt first over crankshaft belt pulley. Finally, push belt onto tensioning roller.
Further assembly is basically the reverse of the dismantling sequence.
After completing repairs:
–  Start engine and check belt running.
  N21-10072

Removing and installing poly V-belt > < Crankshaft dimensions