| –
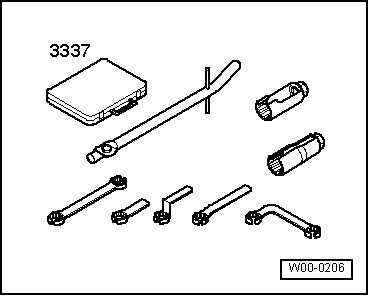
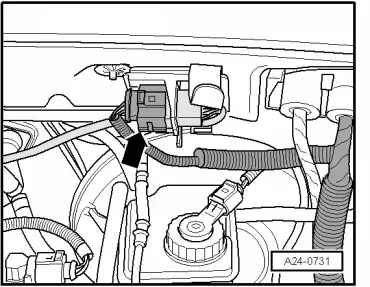
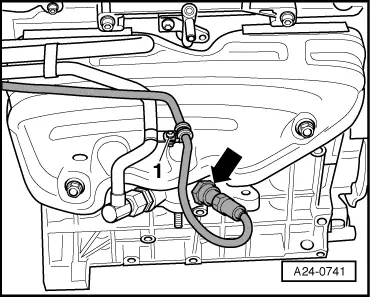
| Remove the lambda probe-arrow- by unscrewing with a tool from the set of ring spanners for lambda probes -3337-. |

Note | The engine is shown removed in the figure. |
| When installing, note the following: |
Note | t
| New Lambda probes are coated with an assembly paste. The paste must not get into the slots on the probe body. |
| t
| When reusing the lambda probe, only grease the thread with hot bolt paste -G 052 112 A3-; the paste must not get into the slots on the sender body Locking fluid for hot working bolts → ETKA (Electronic parts catalogue) |
| t
| When assembling, the Lambda sender line must be fixed in its original position to avoid contact with the exhaust pipe. |
| t
| Tightening torque: 55 Nm |
|
|
|