Leon Mk1
|
|
|
|
|
|
|
 Note
Note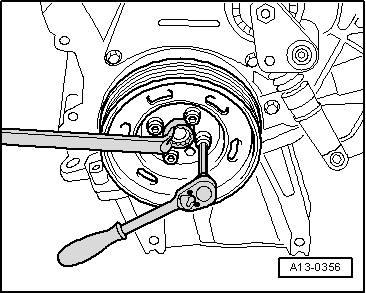
|
|
| Component | Nm | |
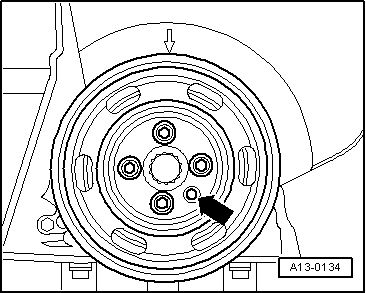
| Vibration damper to the crankshaft notched pulley | 10 + 90° → Note → Note | |
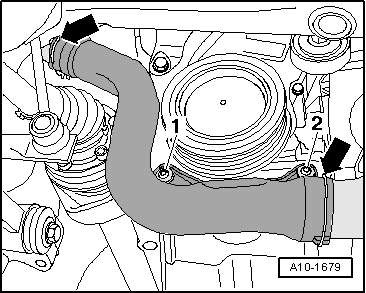
| Supercharger air intake pipe (right-side) to sump | 10 | |
|

|
|
|
|
|
|
|
|
|
| Component | Nm | |
| Vibration damper to the crankshaft notched pulley | 10 + 90° → Note → Note | |
| Supercharger air intake pipe (right-side) to sump | 10 | |
|