Leon Mk1
| Disassemble and assemble the fuel tank with its additional assembly components and fuel filter |

| 1 - | Lock cover |
| 2 - | Fuel cap unit |
| 3 - | Gravity and spillage valve |
| q | To disassemble, deblock the safety tab and remove the valve upward from the filling mouth |
| q | Check if the valve is serviceable Valve in vertical position: open Valve inclined at 45 °: closed |
| 4 - | O-ring |
| q | Replace if damaged |
| 5 - | Ground connection |
| 6 - | Cap nut, 80 Nm |
| q | Disassemble and assemble with -3217- |
| q | -3217- assemble over the three rounded bolts |
| q | Use the tool. -U-40055- |
| 7 - | Reflux conduit |
| q | Blue |
| q | From the fuel distributor → Rep. Gr.24 |
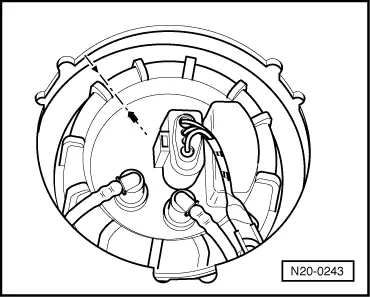
| 8 - | Fuel transport unit |
| q | Disassemble and assemble → Chapter |
| q | Check the fuel pump → Chapter |
| q | Remember the fuel tank assembly → Fig. |
| 9 - | Available fuel display transmitter |
| q | Adjust → Current flow diagrams, Electrical fault finding and Fitting locations |
| 10 - | Sealing ring |
| q | Moisten with fuel for assembly |
| q | Replace if damaged |
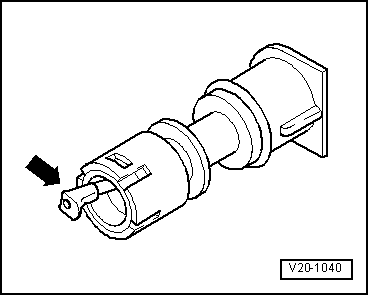
| 11 - | Fuel filter |
| q | Assembly position: the arrow indicates the direction of flow |
| 12 - | 3 Nm |
| 13 - | Fuel tank |
| q | Disassemble and assemble → Chapter |
| 14 - | 25 Nm |
| 15 - | Tensor strap |
| q | Remember the difference in length |
| 16 - | Ventilation conduit |
| q | Toward the active carbon tank → Item |
| 17 - | Advance conduit |
| q | Black |
| q | Toward the fuel distributor → Rep. Gr.24 |
| 18 - | 12 Nm |
| 19 - | Spacer casing |
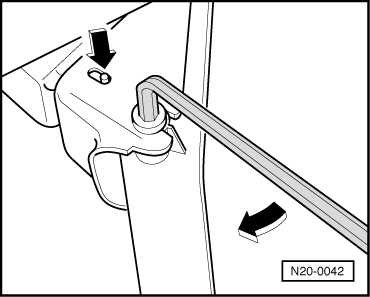
| 20 - | Ventilation valve |
| q | Check → Fig. |
| q | To disassemble, lightly press the blocking latch toward the interior -arrow- and remove the valve |
|
|
|
|