seat Workshop Repair Guides

SEAT Workshop Service and Repair Manuals

Assembly overview - Haldex coupling > < Removing and installing four-wheel drive control unitJ492
Removing and installing pump for Haldex couplingV181
Removing and installing pump for Haldex coupling -V181-
Removing → Anchor
Install → Anchor.
Tightening torque → Anchor
Consult the equivalence table for tools and equipment according to applicability among Seat / VW / Audi / Skoda → Chapter.
Special tools and workshop equipment required
   
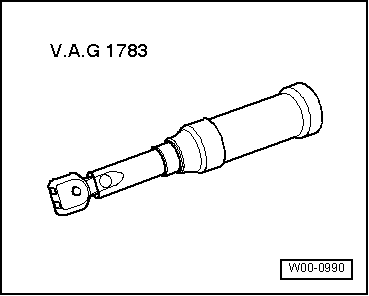
t  Torque wrench 2...10 Nm -VAG 1783-
  W00-0990
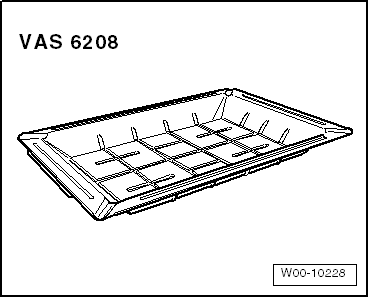
t  Drip tray for liquids -VAS 6208-
Removing
–  Switch off ignition.
–  Place the drip tray -VAS 6208- under the final group.
  W00-10228
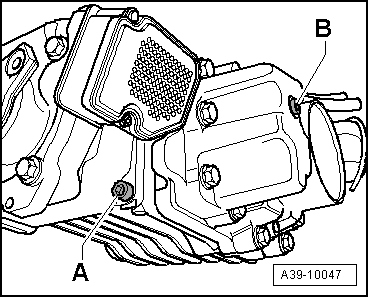
–  Unscrew the drain plug-A- and allow the high performance oil for Haldex clutches to drain.
–  Fit drain plug -A- with new seal and tighten to 30 Nm.
  A39-10047
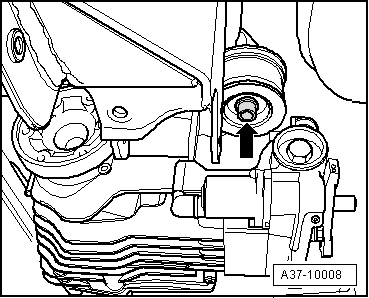
–  Loosen the attachment bolt about 7 turns -arrow- from the final group front support block to slightly lower the final group.
  A37-10008
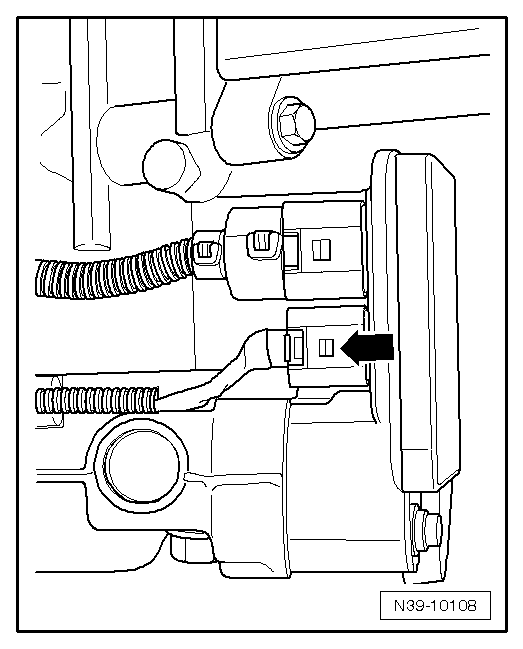
–  Disconnect the connector -arrow- from the pump housing in the control unit.
  N39-10108
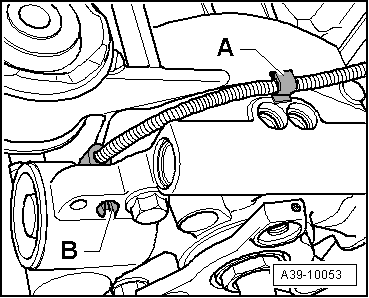
–  Detach wiring harness together with retainer -A- from housing and move clear.
–  Squeeze the locking tabs -B- and insert them completely into the casing hole.
  A39-10053
–  Re-tighten securing bolt -arrow- finger-tight.
–  Position drip tray underneath final drive.
  A37-10008
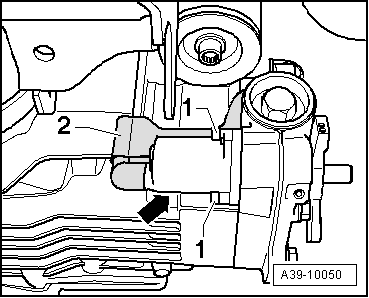
–  Remove securing bolts -1- for pump.
–  Pull out pump -arrow- together with the wiring protection -2- from Haldex coupling.
Installing
Installation is carried out in the reverse sequence; note the following:
  A39-10050
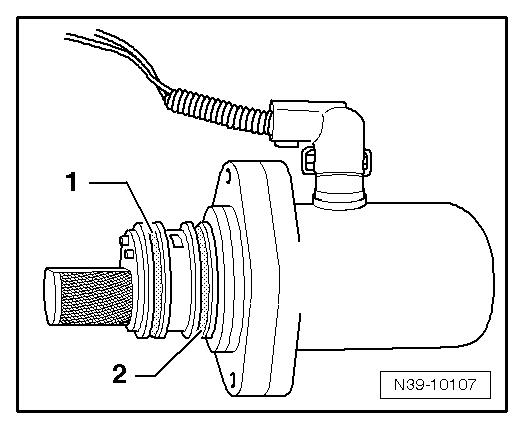
–  Always renew O-rings -1- and -2-.
–  Apply a thin layer of high performance oil for Haldex clutches to the O-rings -1- and -2-.
  N39-10107
–  Press pump -arrow- in until limit stop. When doing this, check that the cabling protection -2- stays properly routed.
–  Tighten bolts -1- to specified torque → Anchor.
  A39-10050
–  Unscrew securing bolt -arrow- from front mounting bracket.
  A37-10008
–  Clip wiring harness onto top of Haldex coupling and fit connector -arrow- to control unit.
  N39-10108
–  Fasten real axle drive with new bolt -Arrow- to assembly support → Chassis, Axles, Steering; Rep. gr.42.
–  Oil level of Haldex coupling (2nd Generation), check and, top up where applicable, Altea XL 2009 ►, Altea XL Freetrack 2008 ►, Altea XL Freetrack 2009 ► → Chapter.
–  Check oil level in Haldex coupling (4th Generation), check and, top up where applicable, Altea XL 2009 ►, Altea XL Freetrack 2008 ►, Altea XL Freetrack 2009 ►, Alhambra 2011 ► → Chapter.
Tightening torque
  A37-10008
Component Nm
Pump to Haldex coupling6


Assembly overview - Haldex coupling > < Removing and installing four-wheel drive control unitJ492