| –
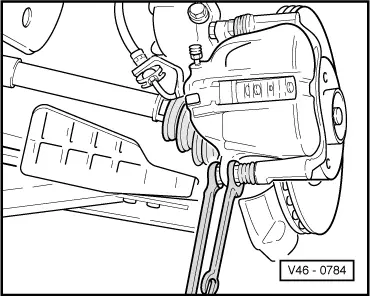
| Tilt the caliper upwards. |
| –
| Clean the caliper, especialy the contact surfaces (the two pistons) with the pads must be free of dirt and grease. |
| Only use alcohol for cleaning the brake caliper. |

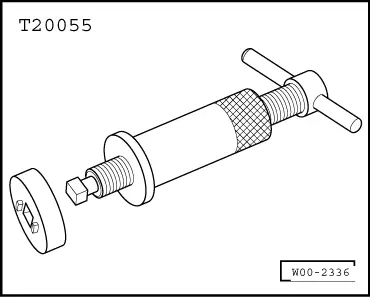
Note! | Before fitting new brake pads, the piston inside the cylinder has to be pushed back with the -T20055- retraction tool. Before retracting use an extraction bottle to extract some fluid from the tank. Otherwise - if brake fluid has been filled to the limit - it might spill out and cause damage. |
| –
| Push the piston in with the retraction tool -T20055-, taking care not to damage the seal boot. |
| –
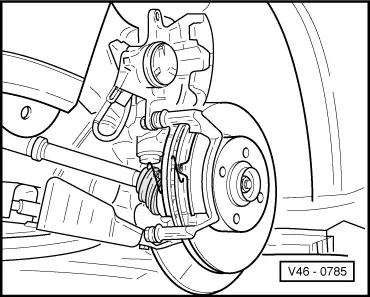
| Tilt the brake clip housing downwards and tighten the new hexagonal bolts. Tightening torques: 35 Nm |
Note! | t
| The repair kit contains four self-locking hexagon nuts that must be changed. |
| t
| After replacing the brake pads, depress the brake pedal a few times with the vehicle stationary, so that the pads reach their working position. |
| t
| After changing pads, check the brake fluid level. |
|
|
|