seat Workshop Repair Guides

SEAT Workshop Service and Repair Manuals

Tripod type joint AAR?3300?i: Disassembling and assembling > < Driveshafts in vehicles with automatic gearbox 099: removing and fitting
Checking outer constant velocity joint
The joint is to be dismantled to renew the grease if it is heavily soiled, or to check the running surfaces of the balls for wear and damage.
Removal:
   
–  Before dismantling, mark position of ball hub in relation to ball cage and joint body with an electric scriber or oil stone.
–  Swing ball hub and ball cage.
–  Remove the balls one by one.
  V40-0015
–  Turn cage until the two rectangular windows -arrow- lie on joint body.
–  Take out cage with hub.
  V40-0016
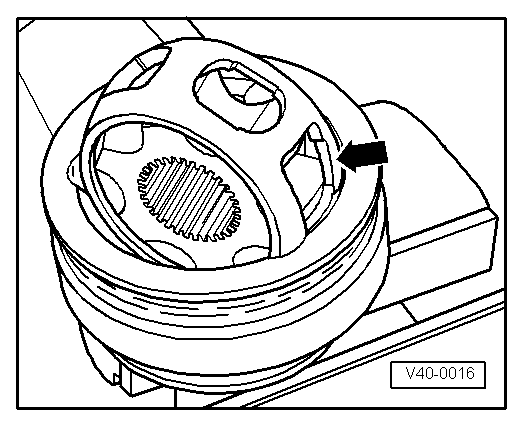
–  Swing segment of hub into square cage window.
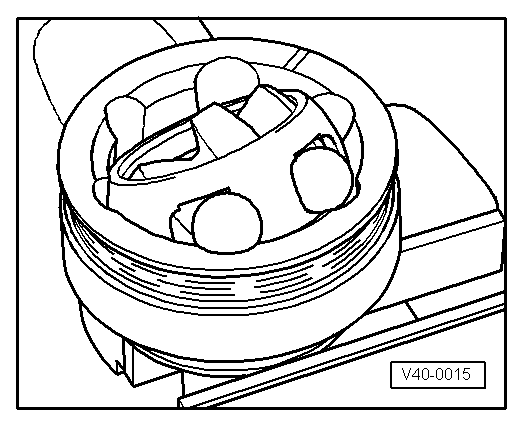
–  Remove the hub from the cage.
The six balls for each joint belong to a tolerance group. Check stub axle, hub, cage and balls for small indentations (pitting) and traces of seizing. Excessive backlash in the joint will cause knocking or jolts under load change. In this case the joint must be replaced. Smoothing and traces of wear of the balls are no reason to change the joint.
Installation
–  Pack half the total quantity of grease into the joint body.
–  Fit cage with hub into joint body.
–  Press in opposing balls one after the other; the original position of the hub relative to the cage and joint body must be restored.
–  Fit new retaining ring into hub.
–  Distribute remaining grease in boot.
  V40-0017

Tripod type joint AAR?3300?i: Disassembling and assembling > < Driveshafts in vehicles with automatic gearbox 099: removing and fitting