seat Workshop Repair Guides

SEAT Workshop Service and Repair Manuals

Rear axle (all-wheel drive): Assembly overview > < Removing and installing trailing arm with mounting bracket|Installation
Repairing trailing arm
   
Repairing trailing arm
Consult the equivalence table for tools and equipment according to applicability between Seat / VW / Audi / Skoda → Chapter.
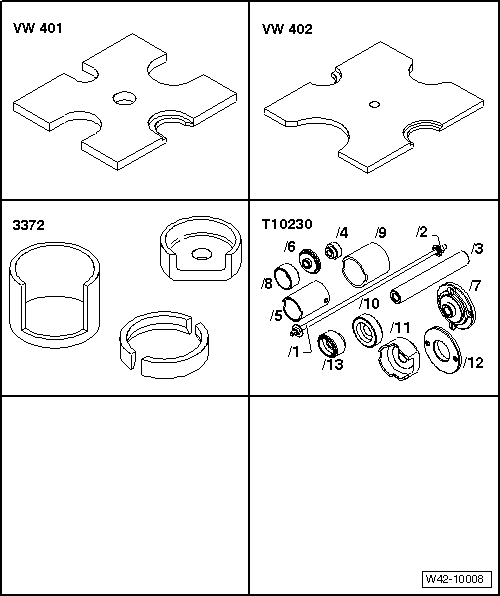
Special tools and workshop equipment required
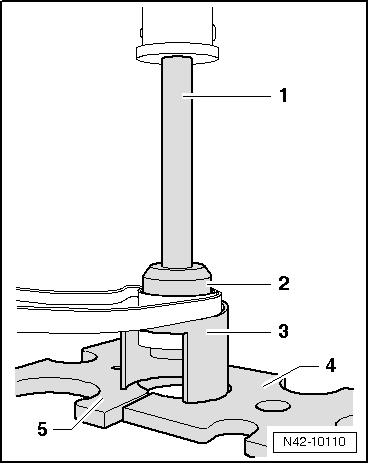
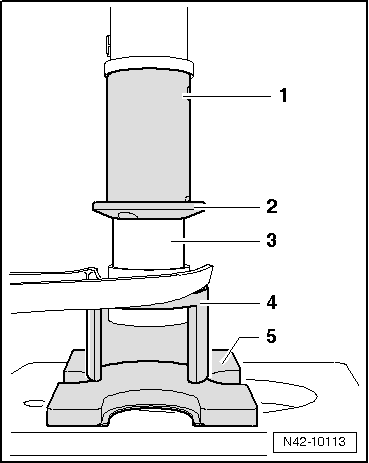
t  attachment tool -T10230-
t  Removal tool -3372-
t  Pressure plate -VW 401-, see equivalent → Anchor
t  Pressure plate -VW 402-, see equivalent → Anchor

Pressing out bonded rubber bush
–  Remove the longitudinal swinging arm → Chapter.
   
–  Fit the tools as shown in the diagram.
1 - Tube -T10230/3-
2 - pressure tool -T10230/10-
3 - Removal tool -3372-
4 - Tightening plate -VW 401-
5 - Tightening plate -VW 402-
–  Pressing out bonded rubber bush
Pressing in bonded rubber bush
–  Place the longitudinal arm on a flat surface.
–  Draw a perpendicular line on the longitudinal arm's sleeve.
  N42-10110
Dimension -A- = 114 mm
  N42-10111
2 Different types of bonded rubber bushes can be used. In both cases, the line drawn must be between the protrusions -1- after fitting.
  N42-10112
–  Fit the tools as shown in the diagram.
1 - Tube -T10230/5-
2 - Thrust plate -T10230/12 - (chamfer must face bonded rubber bush).
3 - Bonded rubber bush
4 - Removal tool -3372-
5 - Tightening plate -VW 402-
–  Press bonded rubber bush in flush.
–  Fit the support bracket on the longitudinal swinging arm → Fig..
–  Fit the longitudinal swinging arm → Chapter.
  N42-10113

Rear axle (all-wheel drive): Assembly overview > < Removing and installing trailing arm with mounting bracket|Installation