| Instrument panel: removing and fitting |
| The instrument panel is equipped with self-diagnosis that facilitates fault finding. |
| Therefore, proceed as follows before removing the instrument panel: |
| –
| Consult the fault memory with fault reader -V.A.G. 1551- → Rep. Gr.01. |
| –
| Check the values on the Service interval indicator and the state of the mileometer with fault reader -V.A.G. 1551- and make a note of them → Rep. Gr.01. |
| If the instrument panel must be replaced after fault finding, the values noted must be entered in the new instrument panel. |
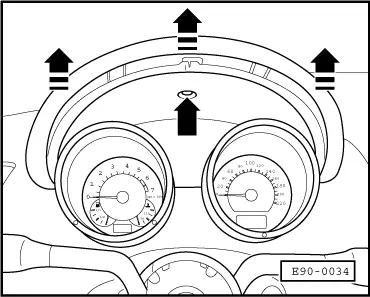
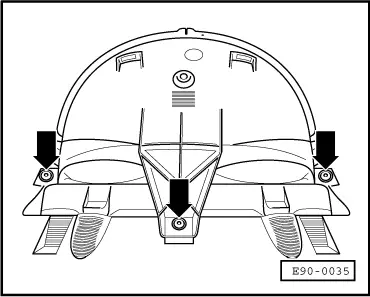
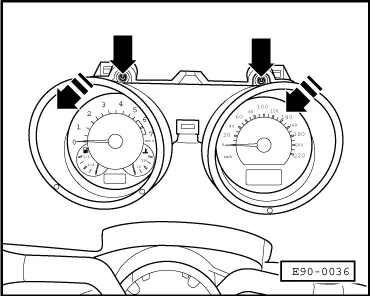
| Removing the instrument panel |

Caution | Before working on the electrical system the battery earth strap must be disconnected. |
|

Note! | t
| If the battery is disconnected and reconnected, the vehicle equipment (radio, clock, electric convenience system, etc.) must be checked, following the instructions in the Repair Manual and/or Instruction Manual. |
| t
| It is not necessary to remove the steering column to remove the instrument panel. |
|
|
|