seat Workshop Repair Guides

SEAT Workshop Service and Repair Manuals

Repairing wiring harnesses and electrical connectors > < Removing and installing relay plate
Removing and installing multi-pin connector on back of relay plate
  Note!
Multi-pin connector pin assignment → Current flow diagrams, Electrical fault finding and Fitting locations
Removing:
–  Disconnect battery → Chapter.
   
–  Pull locking slide -1- on back of relay plate out of housing to stop (approx. 5 mm) -arrow-.
  V97-3013
–  Press fasteners on multi-pin connector -arrow- and pull multi-pin connector out of relay plate.
Installing:
  Note!
  V97-3014
t  
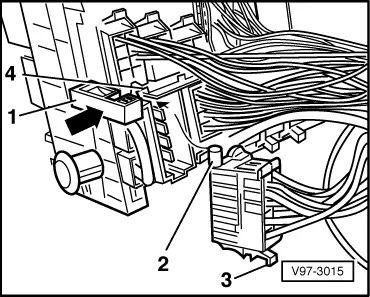
Insert multi-pin connector so that the locking pins -2- face towards the locking slide -1-.
t  To lock locking slide, all multi-pin connectors must be installed and each locking lug -3- must be fitted.
–  Insert multi-pin connector into respective slot so that locking pin -2- is inserted into cut-out -4- and press inwards until locking lug -3- engages.
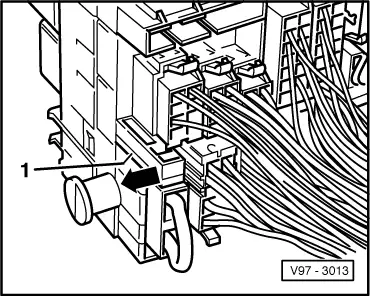
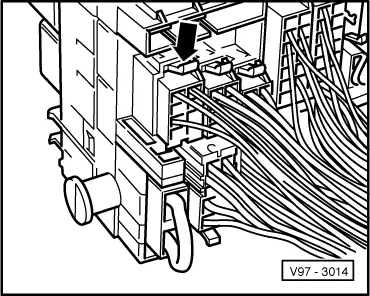
–  Press locking slide -1- to stop -arrow-.
  V97-3015

Repairing wiring harnesses and electrical connectors > < Removing and installing relay plate