
Leon Mk2
| Repairing trailing arm |

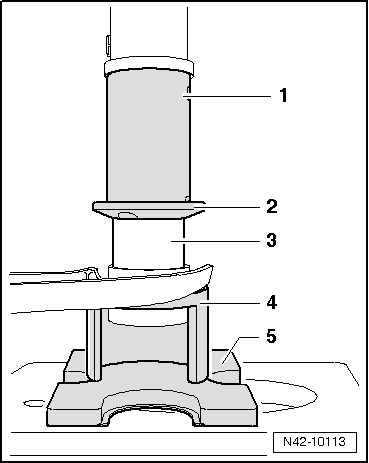
| Special tools and workshop equipment required |
| t | Tightening plate -VW 401- |
| t | Tightening plate -VW 402- |
| t | Removal tool -3372- |
| t | attachment tool -T10230- |
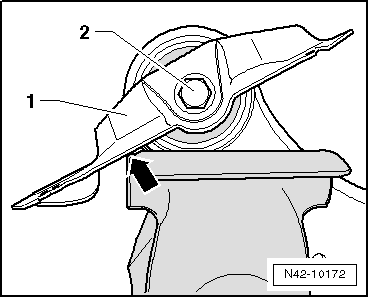
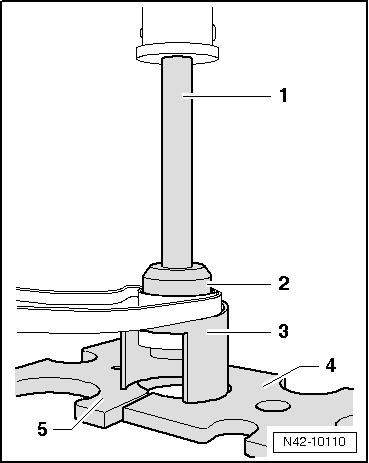
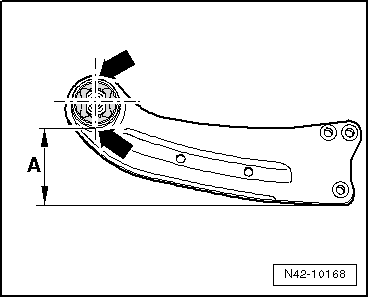
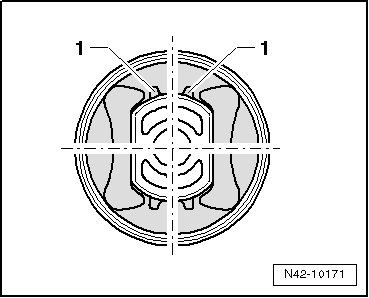
|
|
|
|
|
|
|
 Note
Note
|
|
|
|