skoda Workshop Repair Guides

Skoda Workshop Service and Repair Manuals

Removing and installing the two-mass flywheel > < Replacing crankshaft seal on belt pulley side
Removing and installing the sealing flange on the belt pulley side
Special tools and workshop equipment required
t  Bushing -T10053/1-
t  Counterholder -T30004 - or -MP 1-310-
t  Sealant remover gasket stripper (bearing code GST, bearing article no. R 34402), manufacturer Retech s.r.o.
t  Cleaning agent and grease remover e.g. -D 000 401 04-
t  Protective goggles and gloves
t  Silicone sealant -D 176 404 A2-
Removing
–  Removing toothed belt → Chapter.
   
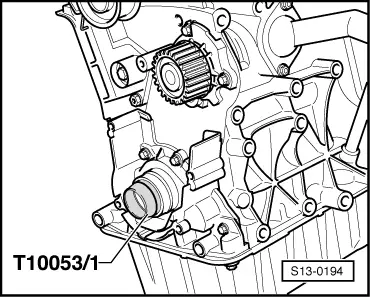
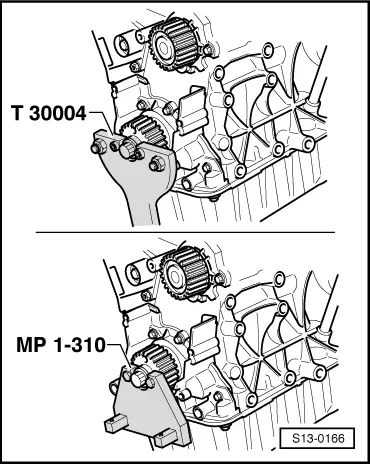
–  Remove crankshaft timing belt sprocket. To this end lock the timing belt sprocket with counterholder -T30004- or -MP 1-310-.
  Note
When screwing on the counterholder -MP 1-310- place 2 washers between the toothed belt gear and the counterholder.
–  Drain engine oil → Fabia.
–  Removing the oil pan → Chapter.
–  Unscrew front sealing flange.
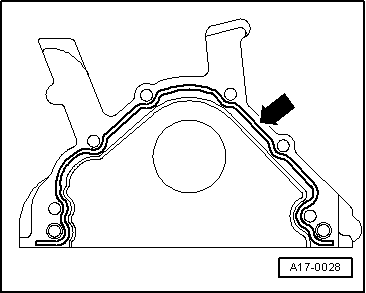
–  Remove sealing flange, if necessary release by applying slight blows with a rubber-headed hammer.
  WARNING
Wear protective gloves and goggles when working with gasket remover and degreasing agent!
–  Clear sealing surface on sealing flange, cylinder block and on the oil pan from gasket residues with chemical sealant remover.
–  Degrease the sealing surfaces.
Install
  Note
t  Pay attention to the use by date on sealant.
t  The sealing flange must be installed within 5 minutes after applying the silicone sealant.
–  Cut off nozzle tube of the silicone sealant -D 176 404 A2- at the front marking (Ø of nozzle approx. 3 mm).
  S13-0166
–  Apply silicone sealant bead to the clean sealing surface of the sealing flange, as shown in the illustration.
   Thickness of sealant bead -arrow-: 2…3 mm
  Note
The sealant bead must not be thicker than 3 mm otherwise excess sealant may get into the oil pan and clogg the strainer in the oil suction pipe.
–  Fit sealing flange immediately and lightly tighten all bolts.
  Note
  A17-0028
When installing the sealing flange with the gasket ring fitted, use sleeve -T10053/1-:
–  Tighten the fixing screws of the sealing flange crosswise to 15 Nm.
–  Installing the oil pan → Chapter.
  Note
After installing, allow the sealant to dry for about 30 minutes. Only then may engine oil be filled in.
–  Installing the timing belt → Chapter.
  S13-0194

Removing and installing the two-mass flywheel > < Replacing crankshaft seal on belt pulley side