skoda Workshop Repair Guides

Skoda Workshop Service and Repair Manuals

Release the assembly carrier and align in the service position (as of CW 12 2008) > < Inspecting the steering joint
Removing and installing steering joint (as of CW 12 2008)
Special tools and workshop equipment required
t  Ball joint extractor -3287A-
Removing:
–  Remove wheel.
   
–  Release fixing nuts -arrows-.
–  Release track control arm from the screws of the steering joint.
  S40-0262
–  Place the ball joint extractor as shown in the figure.
  Note
t  To protect the thread, screw the nut a couple of thread turns onto the steering joint.
t  Risk of accident while the steering joint is being pressed out; observe: the ball joint extractor can fall off when loosening the steering joint.
–  Push out the steering joint with the ball joint extractor.
Installing:
  Note
t  Observe fitting position of the steering joints according to the marking.
t  The castor changes if the fitting position of the steering joint is incorrect.
t  Always fit new nuts for the drive shafts.
Fitting position according to the identification on the steering joint:
R - means right
L - means left
3 - means for vehicles with mechanical steering (is not available)
4 - means for vehicles with power steering
„arrow“ - shows in the direction of travel on vehicles with power steering
  S40-0268
Left steering joint
Designation „L4“ and „arrow“ designates the left steering joint for vehicle with power steering.
R3 - marks the right steering joint for vehicle with mechanical steering (is not available).
  S40-0382
Right steering joint
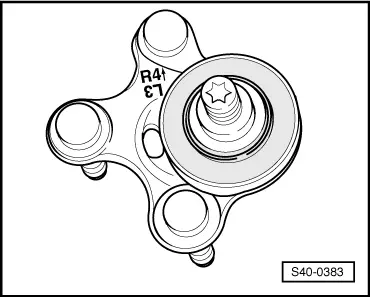
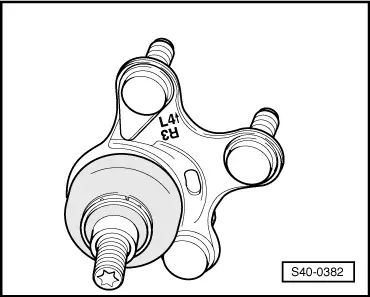
Designation „R4“ and „arrow“ designates the right steering joint for vehicle with power steering.
L3 - marks the left steering joint for vehicle with mechanical steering (is not available).
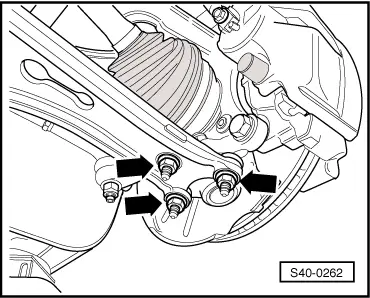
–  Insert the steering joint into the wheel-bearing housing (to do so, pull the track control arm towards the bottom under the steering joint to be inserted).
  Note
t  Observe fitting position of the steering joints according to the marking.
t  The castor changes if the fitting position of the steering joint is incorrect.
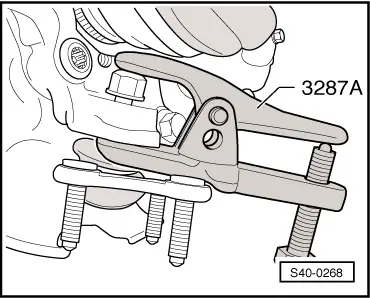
–  Screw new nut onto the steering joint and tighten.
   While doing this secure steering joint against spinning, so that the steering joint boot is not damaged.
  S40-0383
–  Position the track control arm onto the steering joint and tighten nuts -arrows-.
–  Install and tighten the front wheel.
  Note
It is necessary to perform a vehicle alignment in the event of → Chapter.
–  Perform a test drive.
–  Check the steering wheel position during the test drive.
  Caution
If after the test drive and with the front wheels pointing straight ahead the steering wheel is off straight, perform a chassis alignment → Chapter.
  S40-0262
Tightening torques:
Steering joint to wheel-bearing housing
t  Use new nut!
20 Nm + 90°
Steering joint to track control arm
t  Use new nuts!
40 Nm + 45°
Wheel bolts → Chapter


Release the assembly carrier and align in the service position (as of CW 12 2008) > < Inspecting the steering joint