| Removing and installing cylinder head |
| Special tools and workshop equipment required |
| t
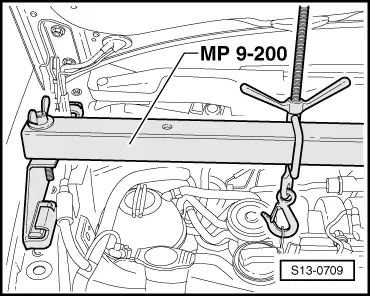
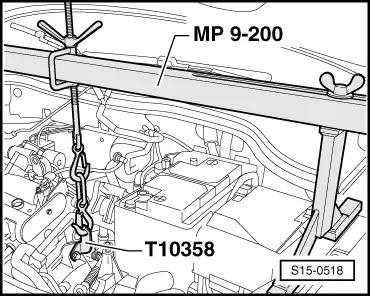
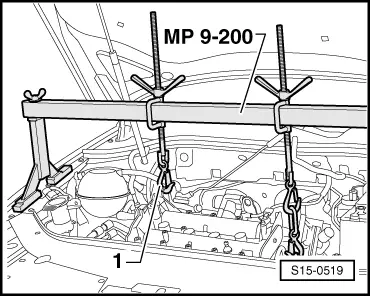
| Supporting device -MP9-200 (10-222A)- |
| t
| Hook -MP9-200/10 (10-222A/10)- |
| t
| Sealant remover gasket stripper (bearing code GST, bearing article no. R 34402), manufacturer Retech s.r.o. |
| t
| Protective goggles and gloves |
| l
| The engine must not exceed the temperature of 35 °C, because the cylinder head could twist when loosening the cylinder head screws. |
| –
| Drain the coolant from the engine cooling system and the charge air cooling system → Chapter. |
| –
| Remove fuel rail together with injectors. |
|
|
|
 Note
Note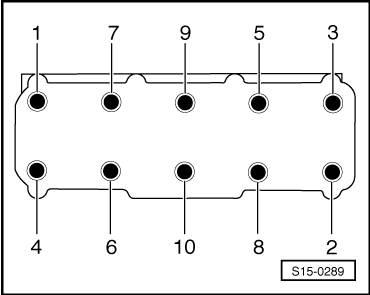
 WARNING