| Disassembling and assembling piston and conrod |
| –
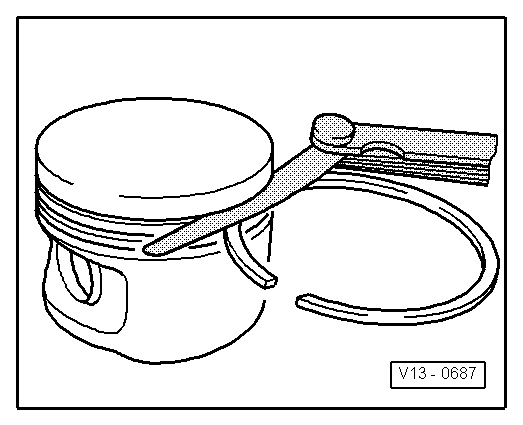
| use piston ring pliers for removing and installing |
| –
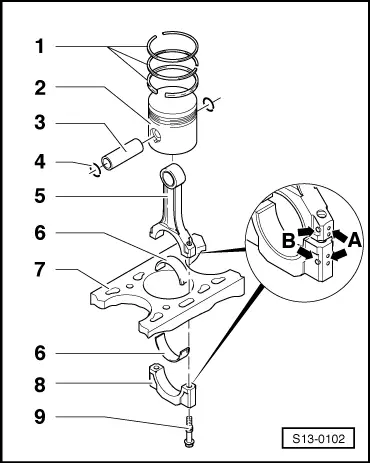
| marking “TOP” faces piston crown |
| –
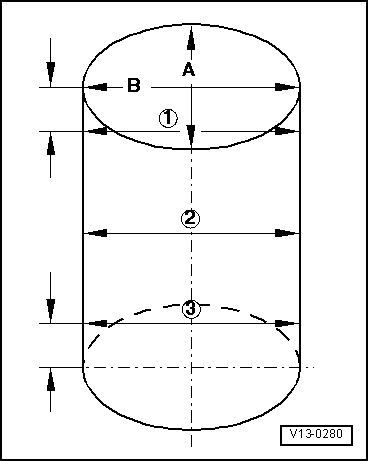
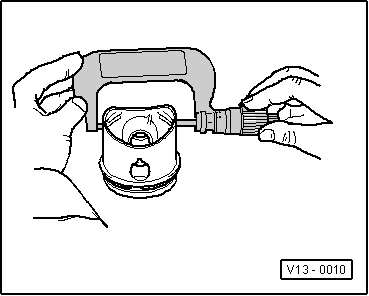
| inspect gap clearance → Fig. |
| –
| inspect end clearance → Fig. |
| –
| mark installation position and matching cylinder |
| –
| arrow on piston crown faces towards the belt pulley side |
| –
| use piston ring tensioning strap for installing |
| –
| if stiff, heat piston to 60°C |
| –
| removing and installing with -MP 1-205- |
| –
| mark matching cylinder -A- |
| –
| Fitting position: Markings -B- point towards the belt pulley side |
| –
| Clean head contact surfaces with compressed air |
| –
| located axially by pistons |
| –
| do not mix up used bearing shells |
| –
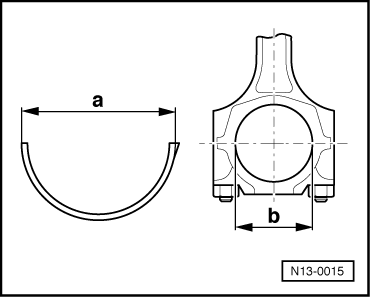
| ensure tightly located in retaining lugs, so that the preload can be measured → Fig. |
| –
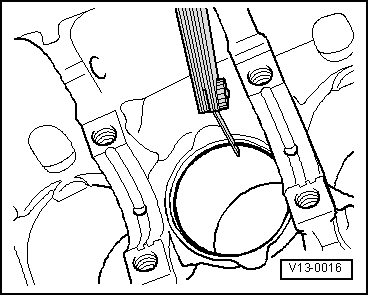
| inspect cylinder bore → Fig. |
| –
| Clean head contact surfaces with compressed air |
| 9 - | Conrod bolt, 30 Nm + torque a further 1/4 turn (90°) |
|
|
|

 Note
Note