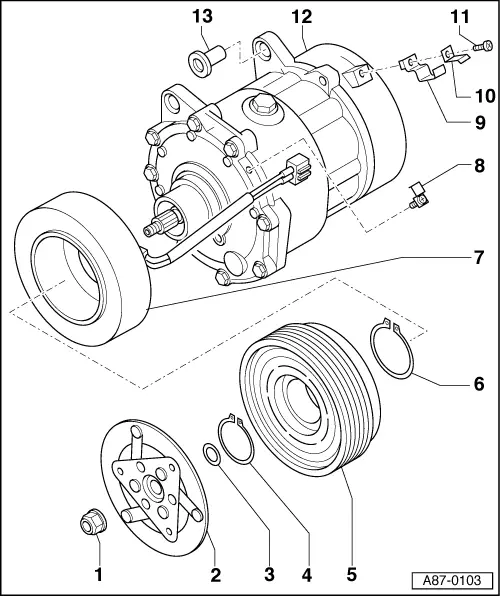
| Testing and adjusting gap |
| –
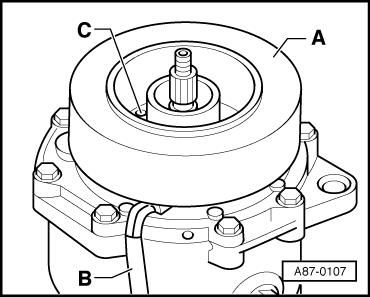
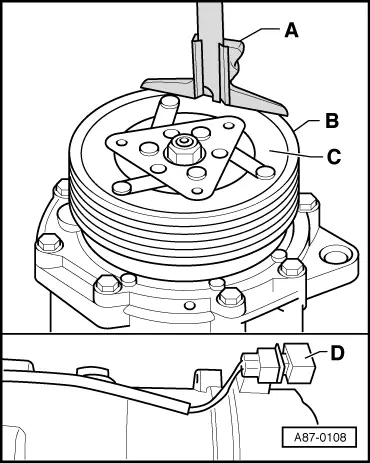
| Measure the dimention “1” between the belt pulley and the clutch disk (-B- and -C-) with depth gauge -A- (at 3 points). |
| –
| Apply a voltage of 12 V to the 2-pin plug -D- (pay attention to the correct polarity of the voltage). |
| –
| Measure the dimention “2” between the belt pulley and the clutch disk (-B- and -C-) with depth gauge -A- (at 3 points). |
| –
| Gap (difference between dimension “1” and “2”): 0.4 up to 0.8 mm. |

Note | t
| The gap must be within the tolerance over the entire circumference. |
| t
| The gap can also be measured with the compressor fitted. |
| t
| If the gap is outside the allowed range, remove the clutch disk and adjust the gap by removing or inserting spacers. |
|
|
|