
Octavia Mk1
 Note
Note| t | The drive wheel can only be removed after removing the planetary gear → Chapter. |
| t | There is no need to remove the input shaft and the differential gear for removing the drive wheel. |
| t | Always replace the drive wheel and the output gear together. |
| t | Jointly replace tapered-roller bearings on the same shaft and use products of the same manufacturer. |
| t | Do not mix up the outer and inner races of bearings of the same size. |
| t | Adjust planet carrier when replacing the drive wheel → Chapter. |

| 1 - | Tensioning screw, 250 Nm |
| q | engage parking position for installing or removing |
| q | removing and installing → Fig. |
| q | Use socket insert 22 mm |
| q | insert the axial needle bearing before installing the tensioning screw Pos. 7 |
| 2 - | Disc spring |
| q | insert curved side to tensioning screw |
| 3 - | Adjusting washer |
| q | Determine thickness → Chapter |
| 4 - | Inner ring/tapered-roller bearing |
| q | after measuring, place the adjusting washer with locking agent -AMV 185 101 A1- onto the drive wheel → Fig. |
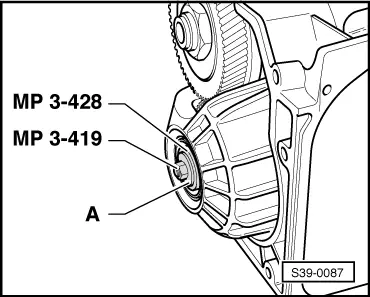
| 5 - | Outer ring/tapered-roller bearing |
| q | drive out with drift |
| q | drive in with thrust plate -MP3-464 (30 - 205)- |
| q | insert using locking agent -AMV 185 101 A1- |
| 6 - | Gearbox housing |
| 7 - | Axial needle bearing |
| q | install flat side to drive wheel |
| q | insert into the drive wheel before installing the tensioning screw Pos. 1 |
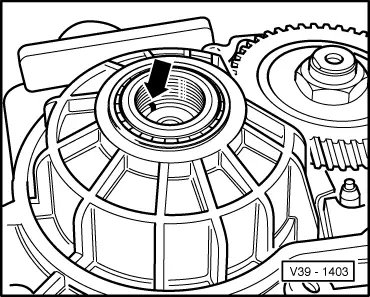
| 8 - | Outer ring/tapered-roller bearing |
| q | drive out with drift |
| q | drive in with thrust plate -MP3-464 (30 - 205)- and relevant long drift |
| q | insert using locking agent -AMV 185 101 A1- |
| 9 - | Inner ring/tapered-roller bearing |
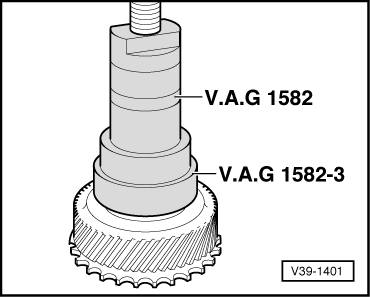
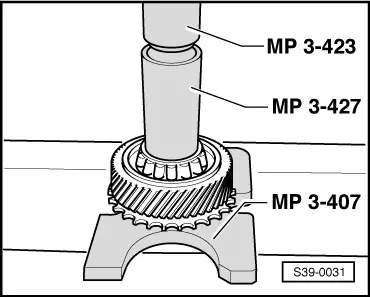
| q | remove → Fig. |
| q | pressing on → Fig. |
| q | insert using locking agent -AMV 185 101 A1- → Fig. |
| 10 - | Input gear |
| q | with pulse rotor for vehicle speed sender -G68- |
| q | No. of teeth → Chapter |
| q | adjust → Chapter |
| q | removing → Fig. |
|
|
Note
|
|
|
|
|
|
|

|