skoda Workshop Repair Guides

Skoda Workshop Service and Repair Manuals

Removing and installing twelve-sided bolt for securing the drive shaft > < Summary of components for vehicles as of 07.07
Removing and installing hexagon screw for securing the drive shaft
  Note
t  If the screw is loose, the wheel bearings must not be loaded when securing the drive shaft.
t  If the wheel bearings are loaded through the vehicle's own weight, the wheel bearing will be initially damaged. This shortens the life of the wheel bearing.
t  Vehicles without drive shaft must not be moved, otherwise the wheel bearing will be damaged If despite this you wish to move the vehicle,pay attention to the following: Install the CV joint instead of the drive shaft. Tighten outer joint to 120 Nm.
Remove hexagon screw:
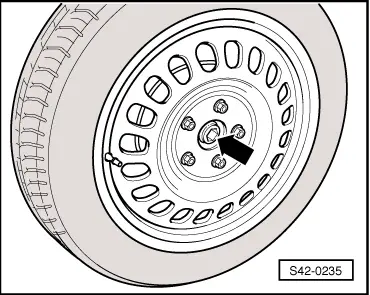
–  Remove wheel trim cap, for light-alloy wheels remove the cap on the removed wheel (depending on version) → Wheels, Tyres; Rep. gr.44.
   
–  Slacken the screw -arrow- by max. 90° on the vehicle while it is standing on its wheels, otherwise the wheel bearing may be damaged.
–  If the wheel is removed, now slacken the wheel bolts.
–  Raise the vehicle until the wheels are fully off the ground.
–  Depress brake pedal (assistance of second mechanic required).
–  Unscrew screw -arrow- and release brake pedal.
Install screw:
–  Install a new screw.
  Note
The wheels should not touch the ground when tightening the screw for the drive shaft, otherwise the wheel bearing will be initially damaged.
–  Depress brake pedal (assistance of second mechanic required).
–  Tighten the screw to 180 Nm and release the brake pedal.
–  Place vehicle onto its wheels.
–  Tighten screw by turning it 180°.
  S42-0235
Tightening torques:
Screw of drive shaft screwed connectionn of rear axle
t  Use new screw!
180 Nm + 180°
Wheel bolt120 Nm


Removing and installing twelve-sided bolt for securing the drive shaft > < Summary of components for vehicles as of 07.07