Octavia Mk2
|
|
|
 Note
Note
|
|
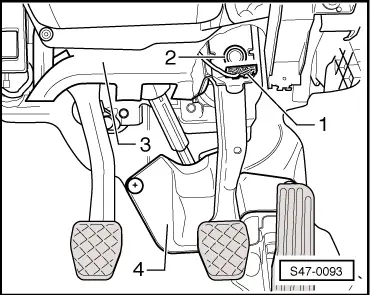
| Tightening torques: |
Brake servo unit to foot controls
| 25 Nm | ||
Master brake cylinder to brake servo unit
| 25 Nm | ||
| Brake lines to master brake cylinder | 14 Nm |

|
|
|
Note
|
|
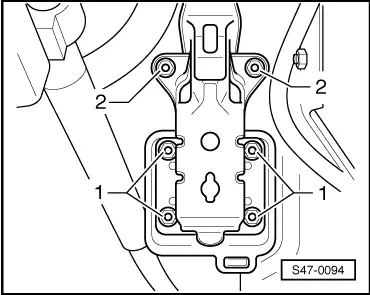
| Tightening torques: |
Brake servo unit to foot controls
| 25 Nm | ||
Master brake cylinder to brake servo unit
| 25 Nm | ||
| Brake lines to master brake cylinder | 14 Nm |