| Draining and filling up coolant |
| Special tools and workshop equipment required |
| t
| Catch pan, e.g. -VAS 6208- |
| t
| Pliers for spring strap clamps |

Note | t
| Collect drained coolant in a clean container for reuse or proper disposal. |
| t
| Please observe the disposal instructions. |

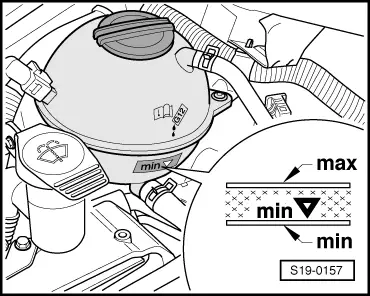
WARNING | Hot steam may escape when the coolant expansion reservoir is opened. Wear safety goggles and safety clothing, in order to avoid eye injuries and scalding. Cover the cap with a cloth and open carefully. |
|
| –
| Open the cap of the expansion reservoir. |
| –
| Place a catch pan under the radiator. |
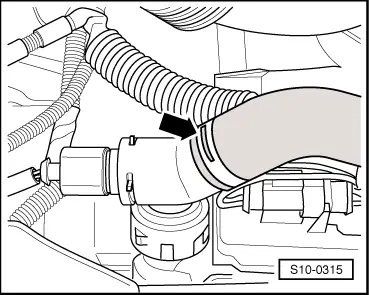
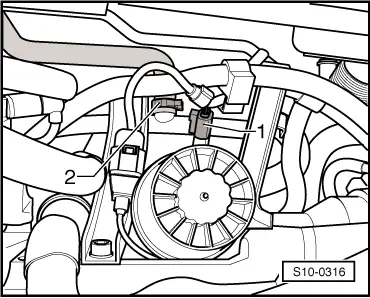
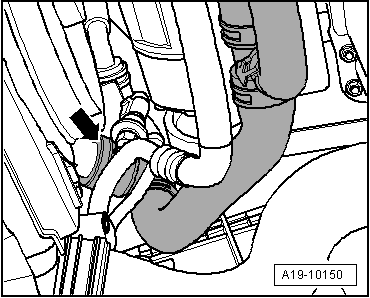
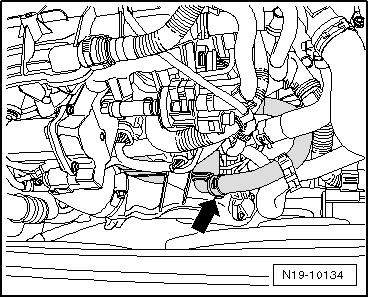
| Vehicles with engine identification characters BLR, BLX, BLY, BVX, BVY, BVZ |
|
|
|
 Caution