| –
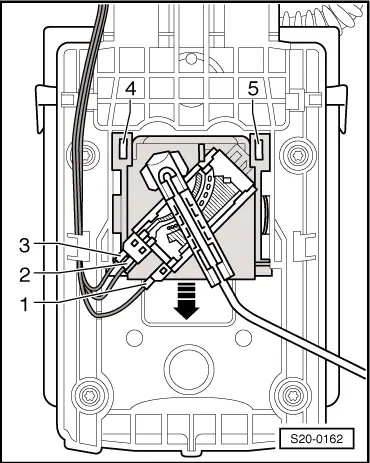
| Unlatch and disconnect the plug connection of the lines -1- (brown), -2- (blue) and -3- (black). |
| –
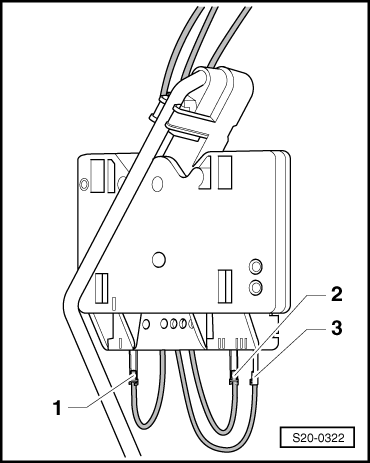
| Connect the cables and check the plugs for secure catch. |
| –
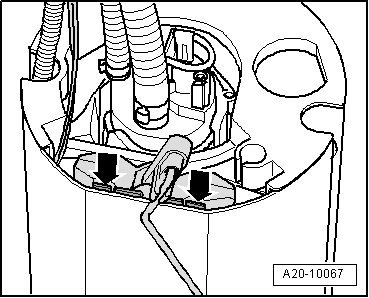
| Insert the sender for fuel gauge display -G- in the guide at the fuel delivery unit and press downwards until it latches into position. |
| –
| Install fuel delivery unit: |
|
|
|
 Note
Note