
Octavia Mk2
 WARNING
 Note
Note
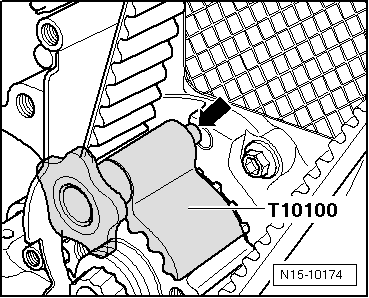
|

|
|
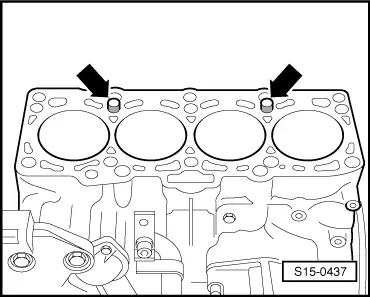
|
|
|
|
|
| Stage | Tighten | ||
| I |
| ||
| II |
| ||
| III |
| ||
| IV |
|
Note
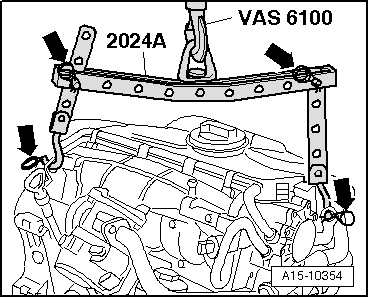
|
|
|
|
|
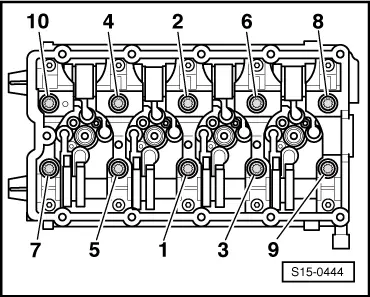
| Sequence | Tighten | ||
| I |
| ||
| II |
| ||
| III |
| ||
| IV |
|
|
|
|

|
|
|
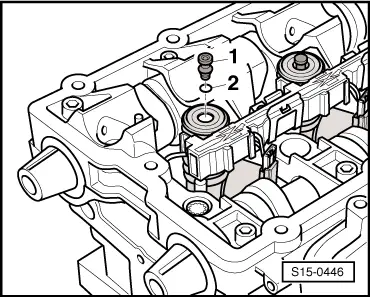
Note
|
|
Note
|
|