
Octavia Mk2
|
|
|
|
|
|
|
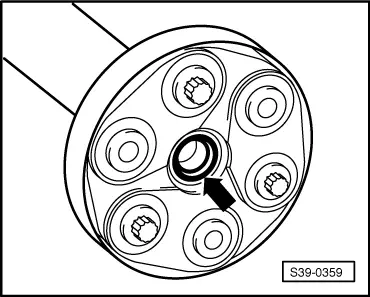
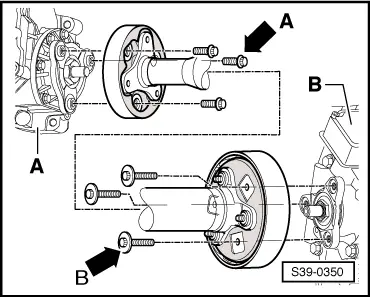
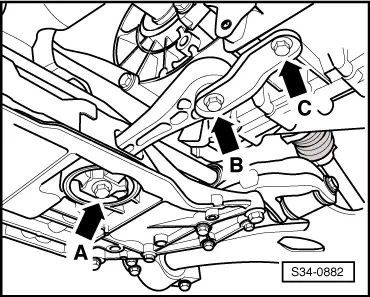
| Collar screw with | Fitting location |
| small collar -arrow A- (M10 x 30) | Propshaft on front final drive -A- |
| large collar -arrow B- (M10 x 45) | Propshaft on rear final drive -B- |
|
|

|
|
|
 Note
Note
|
|
Note
|
|
| Tightening torques of vehicles Octavia II and Yeti |
| Component | Nm |
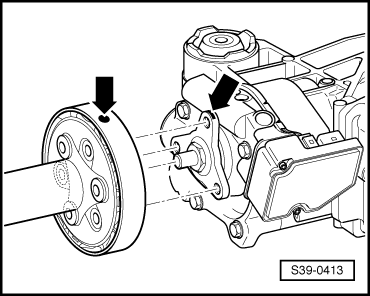
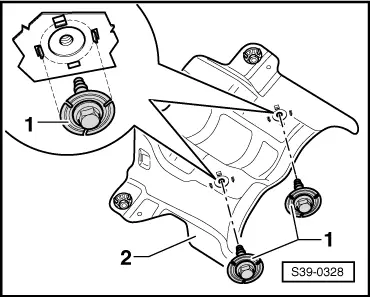
| Intermediate bearing to body | → Chapter |
| Propshaft to rear final drive | → Chapter |
| Propshaft to angle gearbox | → Chapter |
| Tightening torques of vehicles Superb II |
| Component | Nm |
| Intermediate bearing to body | → Chapter |
| Propshaft to rear final drive | → Chapter |
| Propshaft to angle gearbox | → Chapter |