| Installation is performed in the reverse order, pay attention to the following points: |

Note | t
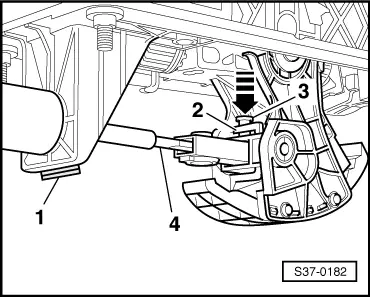
| Inspect boot for damage; the boot must be replaced together with the selector lever control cable. |
| t
| Check correct fitting of the boot and do not install the boot twisted. |
| Tightening torques (the screws or nuts as well as the instructions, if the screws or nuts have to be replaced): |
| t
| Vehicles up to production date 05.09 („old shifting“) → Chapter. |
| t
| Vehicles as of production date 06.09 („new shifting“) → Chapter. |
| Vehicles up to production date 05.09 („old shifting“) |

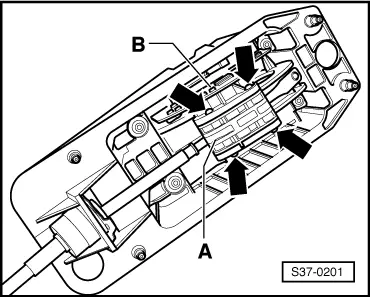
WARNING | Under no circumstances touch the circuit board -B- of the gearshift mechanism with the fingers, because static discharge can destroy the electronic components and the circuit board. |
| The circuit board can only be replaced together with the gearshift mechanism! |
|
|
|
|