| Removing and installing camshafts |
| Special tools and workshop equipment required |
| t
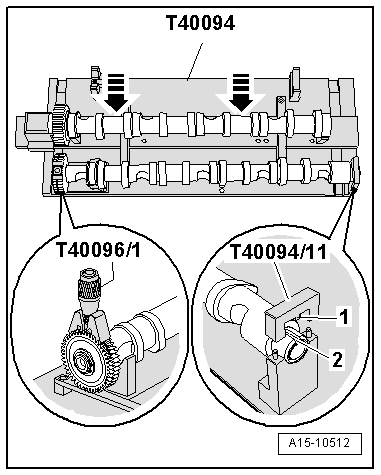
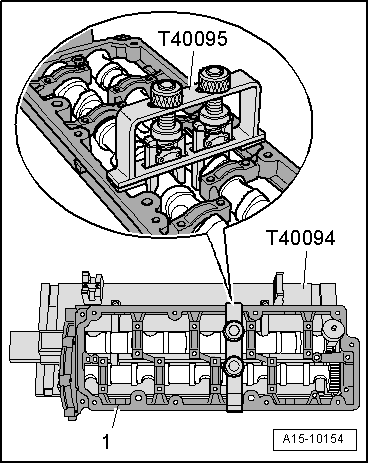
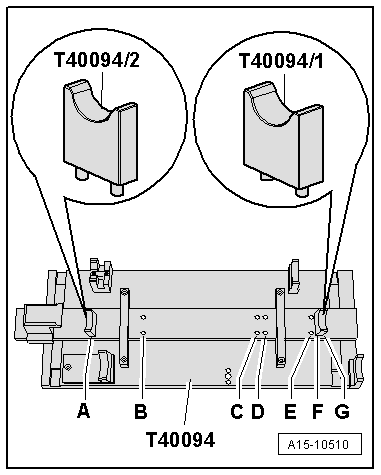
| Camshaft-insertion tool -T40094- |
| t
| Camshaft-insertion tool -T40095- |
| t
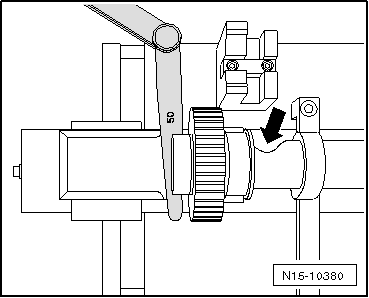
| Tensioning tool -T40096/1- |
| t
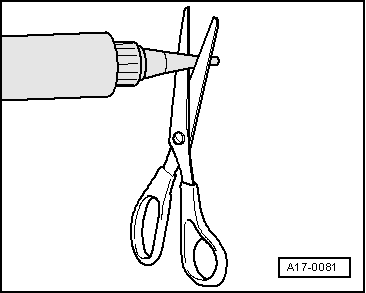
| Silicone sealant -D 176 501 A1- |
| t
| Sealant remover gasket stripper (bearing code GST, bearing article no. R 34402), manufacturer Retech s.r.o. |
| t
| Cleaning and degreasing agent, e.g. -D 009 401 04- |
| t
| Protective goggles and gloves |
| –
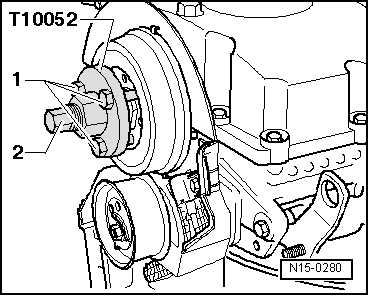
| Detach the toothed belt from the camshaft sprocket and from the toothed belt gear at the high pressure pump: |
| –
| Remove cylinder head cover: |
| –
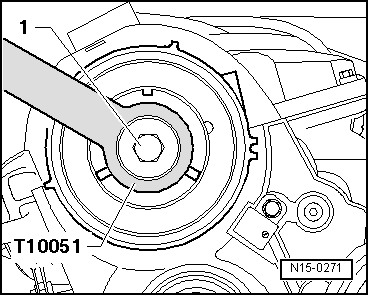
| Remove camshaft sprocket. |
|
|
|


 WARNING
 Caution
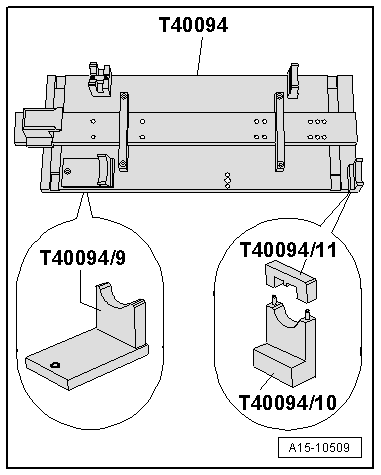
 Note
Note