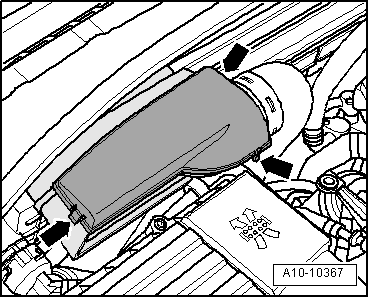
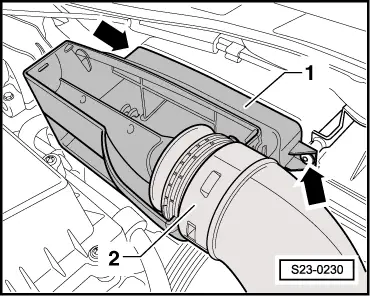
Remove cover for connection fitting, to do so release lateral retaining clasps -arrows-.
–
Release screws -arrows- for connection fitting -1- and take connecting hose -2- out of the guide.
–
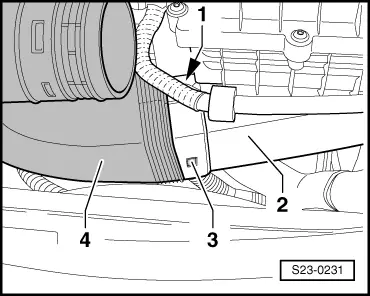
Press in catches -1- and -3- and pull off connecting hose -4- from air filter -2-.
–
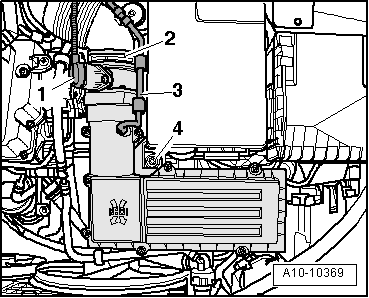
Unplug connector -1- from air mass meter -G70-.
–
Detach vacuum hose -3- and suction hose -2-.
–
Release screw -4- and remove air filter.
Remove suction hose
Note
Due to the poor access of the pliers for spring strap clips to the bottom suction hose it is preferable to remove the connection fitting from the exhaust turbocharger.
–
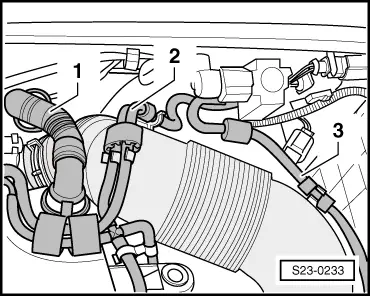
Unclip hoses -2- and -3- from suction hose.
–
Remove the connection pipe -1-.
–
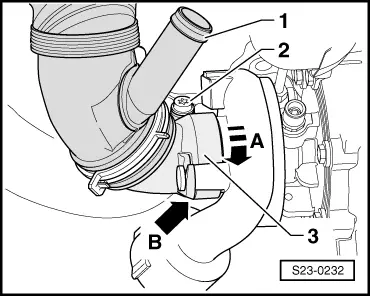
Unscrew bolt -2-.
–
Swivel the connection fitting (pulsation dampener) -3- in the -direction of the arrow A- and remove it with the suction hose -1-.
Install
Installation is performed in the reverse order, pay attention to the following points:
–
When attaching the connection fitting -3- at the exhaust gas turbocharger make sure that the connection fitting is correctly seated on the bolt of the exhaust gas turbocharger -arrow B-.
 Note
Note