skoda Workshop Repair Guides

Skoda Workshop Service and Repair Manuals

Check fuel pressure regulating valveN276 > < Removing
Install
Install
Important instructions for installing the injection units:
When reinstalling the injection unit, the following parts must be replaced:
t  Copper seal
t  O-ring for gasket of bore in cylinder head
t  O-ring for fuel return-flow line
t  Clamping claw
When installing the new injection unit (injectors), the following must also be replaced:
t  High pressure line between fuel high pressure reservoir and injection unit (injection pipe)
Instructions for reinstalling the injection units
  Note
t  When reinstalling, the injection units and the high pressure lines must only be installed on the same point from which they were removed.
t  The reinstalled injection units (injectors) or high pressure lines must not be damaged.
t  Check the injection units and the fitting positions for cleanliness before installing.
t  All the O-rings must be coated with engine oil before installing.
If a used injection unit is reinstalled
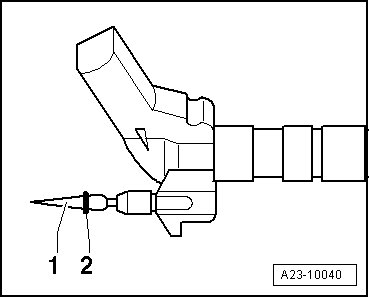
–  Spray the tip of the injection unit with a rust solvent spray. Remove the soot and grease particles with a cloth after approx. 5 minutes.
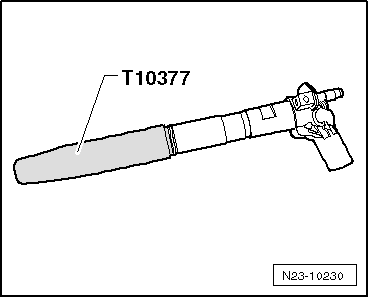
–  Remove the old copper seal from the injection unit; to do so, carefully tighten the copper seal in a vice until the copper seal does no longer turn. Then pull the injection unit out of the copper seal with slight turning and pulling movements of the hand.
Continued for all injection units
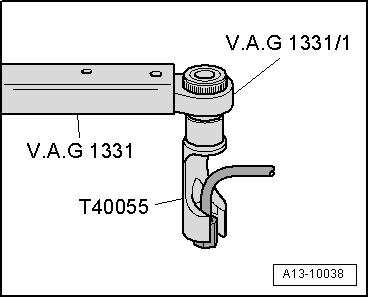
–  Install the new copper gasket ring with the aid of a plastic bush.
   
–  Insert new O-ring -2- for fuel return-flow line via the drift pin -1- in order to not damage the O-ring.
–  Clean the channel with a cloth soaked in engine oil or rust solvent in order to remove the soot particles on the contact surface of the injection unit in the cylinder head.
  Caution
Make sure the sealing surfaces are not damaged in the process.
–  Push on the cover for the injection unit Pos. 22 → Chapter. 22 → Chapter.
  A23-10040
–  Replace O-ring for the cylinder head bore, to do so use assembly sleeve -T10377-.
–  Push the clamping claw onto the injection unit, observe fitting position → Fig..
  Caution
Pay particular attention in order to avoid unnecessary installation work or consequential damage.
Avoid damage and contact of the injection units with the cylinder head.
–  Carefully insert the injection unit into the bore in the cylinder head, pay attention to the fitting position.
  Caution
When screwing the nuts for the clamping claws of the injection units, there is a risk that the nut falls into the cylinder head. Thus work very carefully in order to avoid unnecessary installation work or possible consequential damage.
Tightening torques: → Chapter.
–  Carefully fit on the fixing nuts of the clamping claw by hand and tighten.
–  Turn the cover of the injection units in the fitting position and screw it down.
–  First of all tighten the union nuts of the high-pressure or injection lines by hand.
–  Install the high-pressure or injection lines free of stress.
  N23-10230
–  Use the socket wrench insert -T40055- for tightening the injection lines.
–  Carefully push the connections of the fuel return line over the O-ring at the injection unit (check the O-ring for damage beforehand). The cap must click audibly into place, afterwards carefully press the unlocking bolt downwards.
  Note
After replacing one or several injection units, carry out the adaptation according to their codes „injector quantity adjustment IQA“ and „injector voltage adjustment IVA“ → Vehicle diagnostic tester.
–  Fill up the fuel system → Chapter.
  A13-10038

Check fuel pressure regulating valveN276 > < Removing