| Removing and installing charge air cooler |
| Continued for all vehicles |
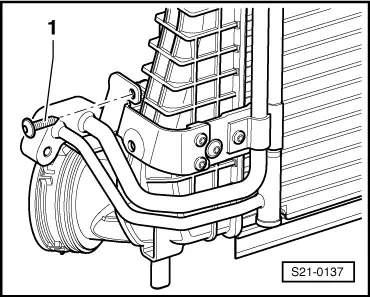
| –
| Remove the charge air hoses on the left and right from the charge air cooler. |
| Vehicles with air conditioning |

WARNING | Do not open the refrigerant circuit of the air conditioning system. |
|

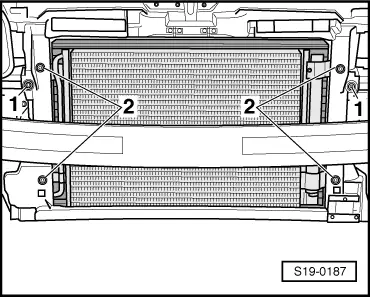
Caution | In order to avoid damage to the condenser as well as to the refrigerant lines and hoses, ensure that the lines and hoses are not over-tensioned, kinked or bent. |
|
|
|
|
 Note
Note