| –
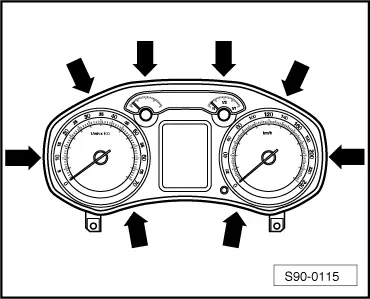
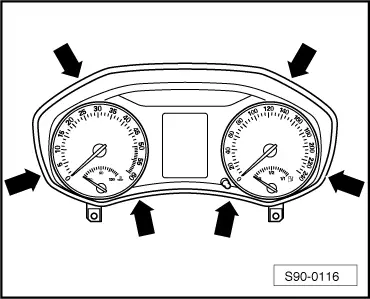
| Carefully unlatch the shield with transparent washer from the latch clips -arrows-. |
| Carefully remove dust and dirt from the new transparent washer and the visible part of the dash panel insert (e.g. blow out). |
| –
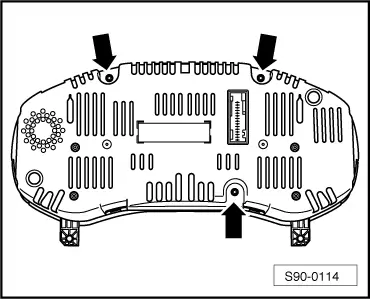
| Make sure the new shield with transparent washer is correctly inserted into the latch clips in the dash panel insert and the reset dowel into the opening of the transparent washer. |

Note | Before the shield latches fully into position, make sure that all the tabs are correctly inserted, so that the insert frame is not scratched. |
|
|
|
 Caution