
Grand Vitara 2WD V6-2.7L (2006)
2) Install piston pin to piston and connecting rod:
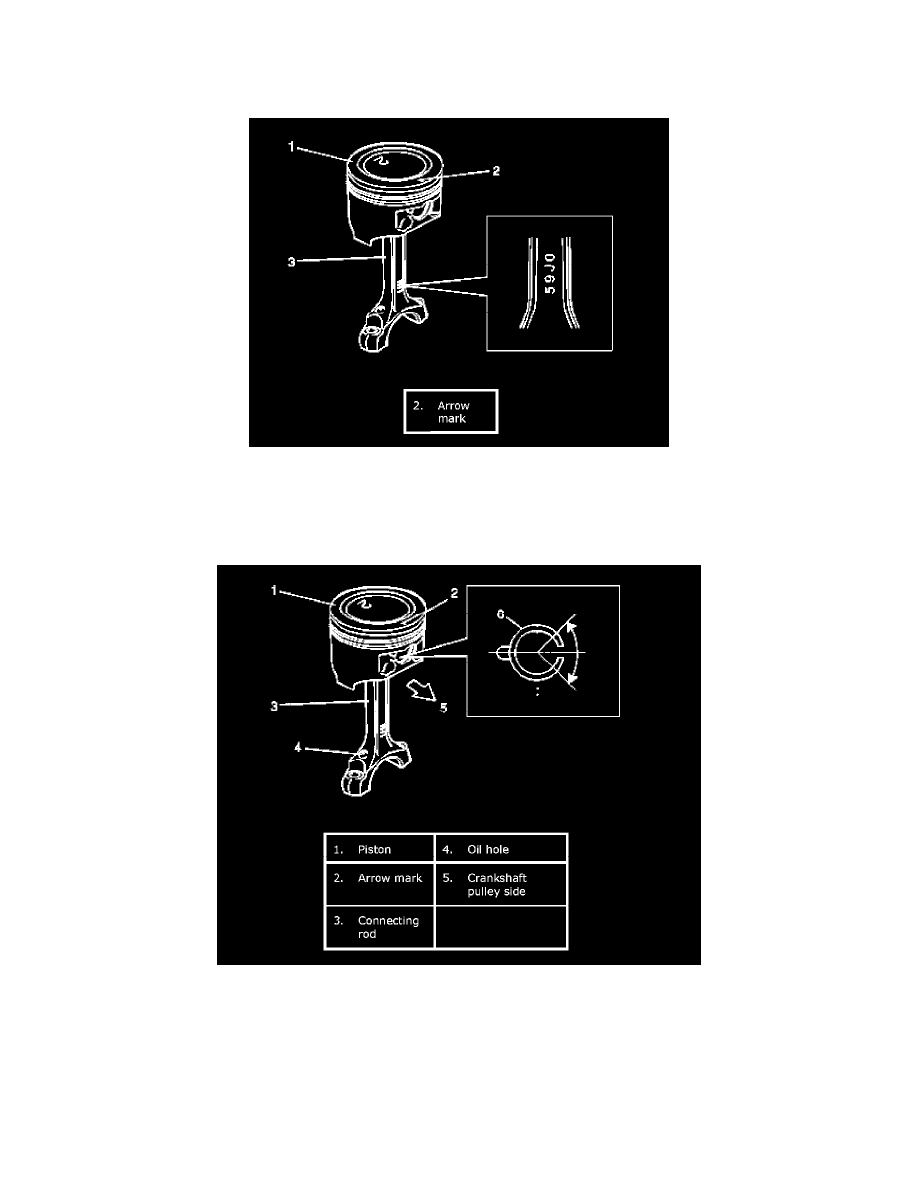
After applying engine oil to piston pin and piston pin holes in piston (1) and connecting rod (3), fit connecting rod to piston as shown in figure and
insert piston pin to piston and connecting rod, and install piston pin circlips.
NOTE: "59J0" mark on connecting rod must face toward crankshaft pulley side.
NOTE:
^
Install circlip (6) with its cut part facing as shown in figure.
^
Install so that circlip end gap comes within such range as indicated by arrow.
3) Install piston rings to piston:
^
As shown in figure, 1st (1) and 2nd rings (2) have "RN" or "R" mark respectively. When installing these piston rings to piston, direct marked
side of each ring toward top of piston.
^
1st rings differs from 2nd ring in thickness, shape of surface contacting cylinder wall.
Distinguish 1st ring from 2nd ring by referring to figure.
^
When installing oil ring (3), install spacer first and then 2 rails.