XL-7 2WD V6-3.6L (2007)

2. Disconnect the electrical connectors from the primary fuel pump module (1) and fuel tank pressure sensor.
CAUTION: Avoid damaging the lock ring. Use only J-45722 to prevent damage to the lock ring.
CAUTION: Do Not handle the fuel sender assembly by the fuel pipes. The amount of leverage generated by handling the fuel pipes could
damage the joints.
NOTE: Do NOT use impact tools. Significant force will be required to release the lock ring. The use of a hammer and screwdriver is not
recommended. Secure the fuel tank in order to prevent fuel tank rotation.
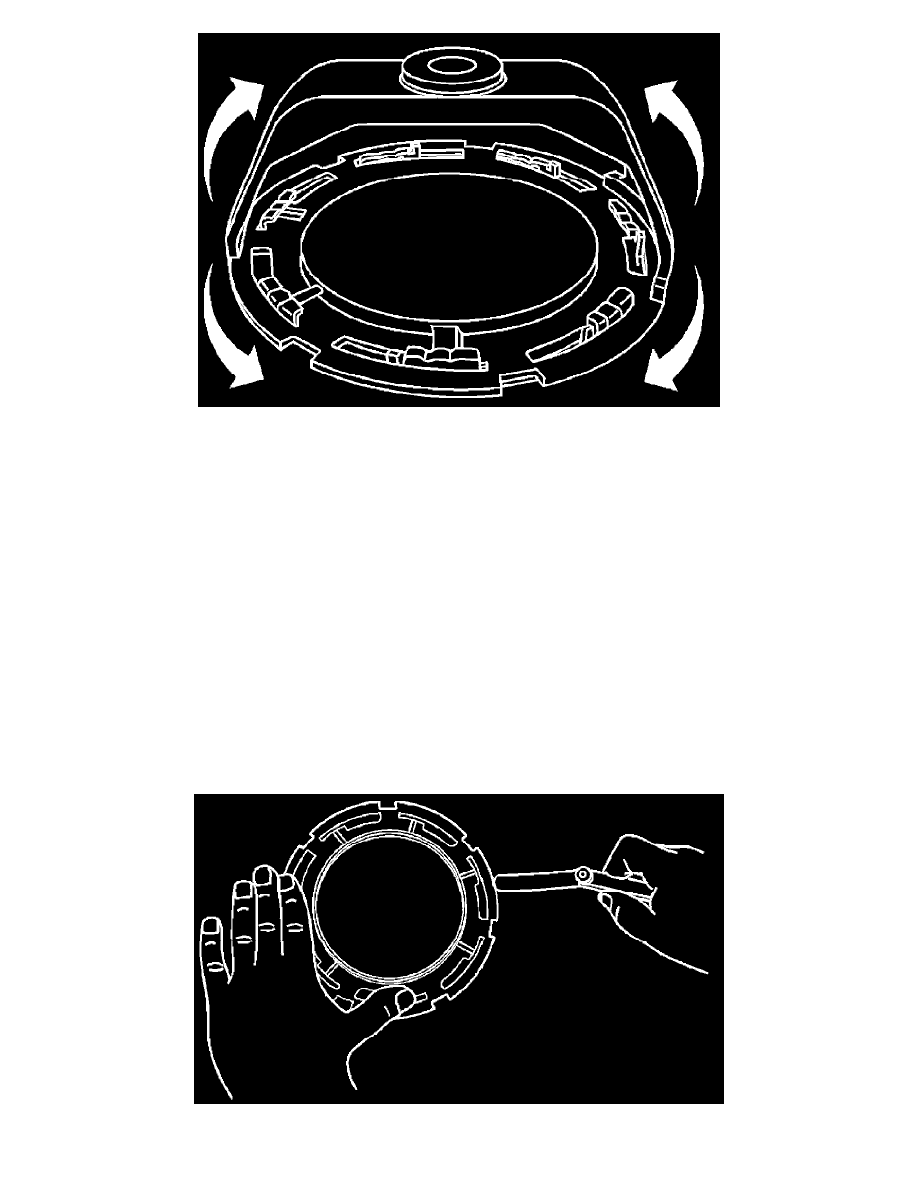
3. Use the J 45722 and a long breaker-bar in order to unlock the fuel sender lock ring. Turn the fuel sender lock ring in a counterclockwise direction.
4. Disconnect the fuel feed and vent lines from the fuel tank.
CAUTION: To prevent bending of the sending unit float arm during removal, lift the pump module up slightly to disengage the
orientation tabs in the tank and rotate the module 45 degrees.
5. Remove the primary fuel pump module assembly.
NOTE: Always replace the fuel pump module-to-tank seal, O-ring, when the fuel pump module is removed.
6. Discard the fuel pump module-to-tank seal.
7. If the fuel level sending unit is being replaced, remove the fuel level sender. Refer to Primary Fuel Level Sensor Replacement.
