
4 Runner 2WD L4-2693cc 2.7L DOHC MFI (1997)
b. Remove the sleeve fork pin.
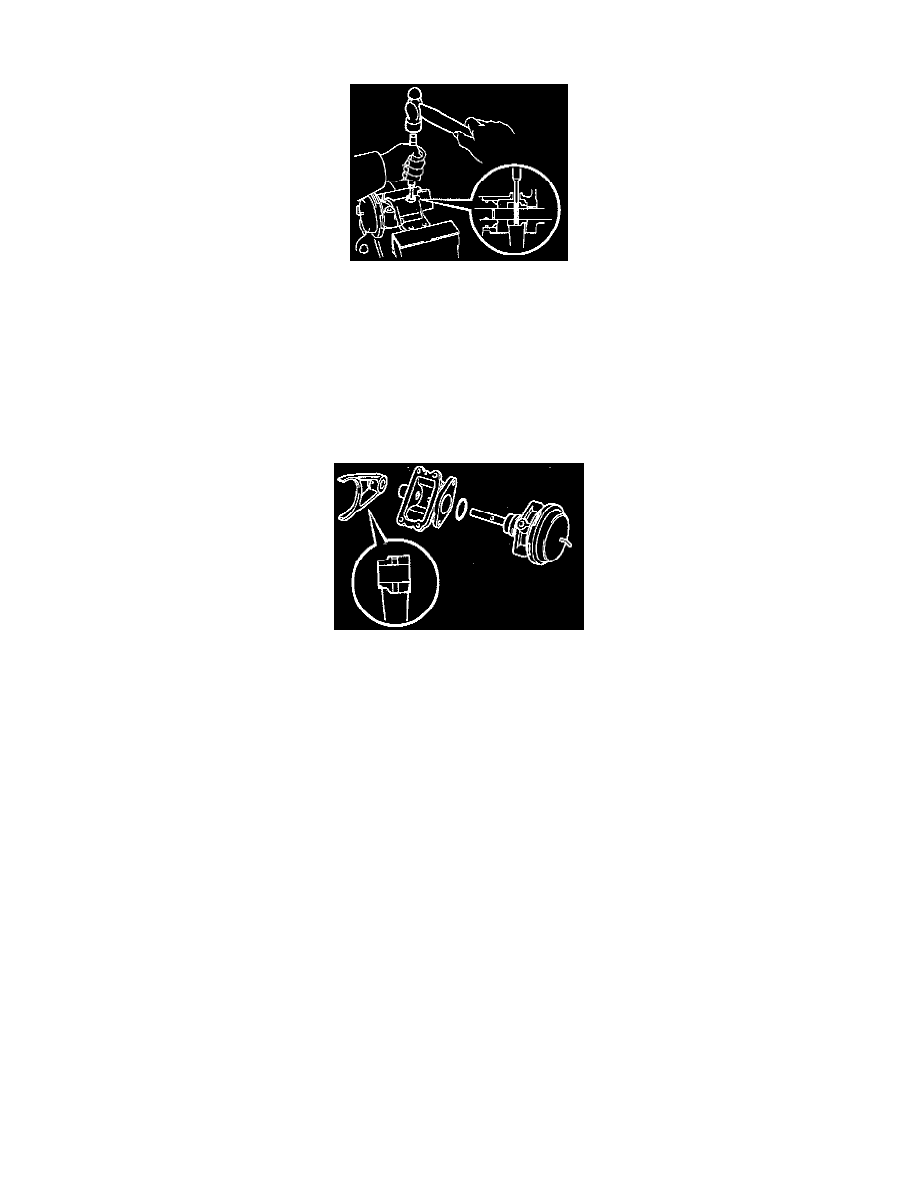
1. Using a hexagon wrench, remove the screw plug.
2. Using a pin punch and hammer, remove the pin through the hole of clutch case cover.
c. Separate A.D.D. actuator from clutch case cover and remove the sleeve fork.
1. Using a hexagon wrench, remove the screw plug.
2. Remove the spring seat, spring and steel ball.
3. Remove the two bolts and actuator from the clutch case cover.
4. Separate the actuator from the clutch case cover and remove the sleeve fork.
5. Remove the Wring from the actuator.
d. Install the sleeve fork and A.D.D. actuator into the clutch case cover.
1. Install a new O-ring to the actuator.
2. Coat the Wring with MP grease.
3. Place the sleeve fork and install the actuator to the clutch case cover.
4. Tighten the two bolts to 21 Nm (15 ft. lbs.).
5. Install the steel ball, spring and spring seat.
6. Coat the threads of screw plug with Part No.08826 00090, THREE BOND 1281 or equivalent FIPG.
7. Using a hexagon wrench, install the screw plug, tightening the screw to 13 Nm (9 ft. lbs.).
e. Install the sleeve fork pin.
1. Using a pin punch and hammer, install the pin through the hole of clutch case cover.
2. Coat the threads of screw plug with Part No.0882-00090, THREE BOND 1281 or equivalent FIPG.
3. Using a hexagon wrench, install the screw plug, tightening it to 20 Nm (14 ft. lbs.).
f.
Install a new gasket and the A.D.D. switch, tightening it down to 40 Nm (30 ft. lbs.).