
4 Runner 2WD L4-2693cc 2.7L DOHC MFI (1997)
4. Using a brass bar and hammer, disconnect the drive shaft.
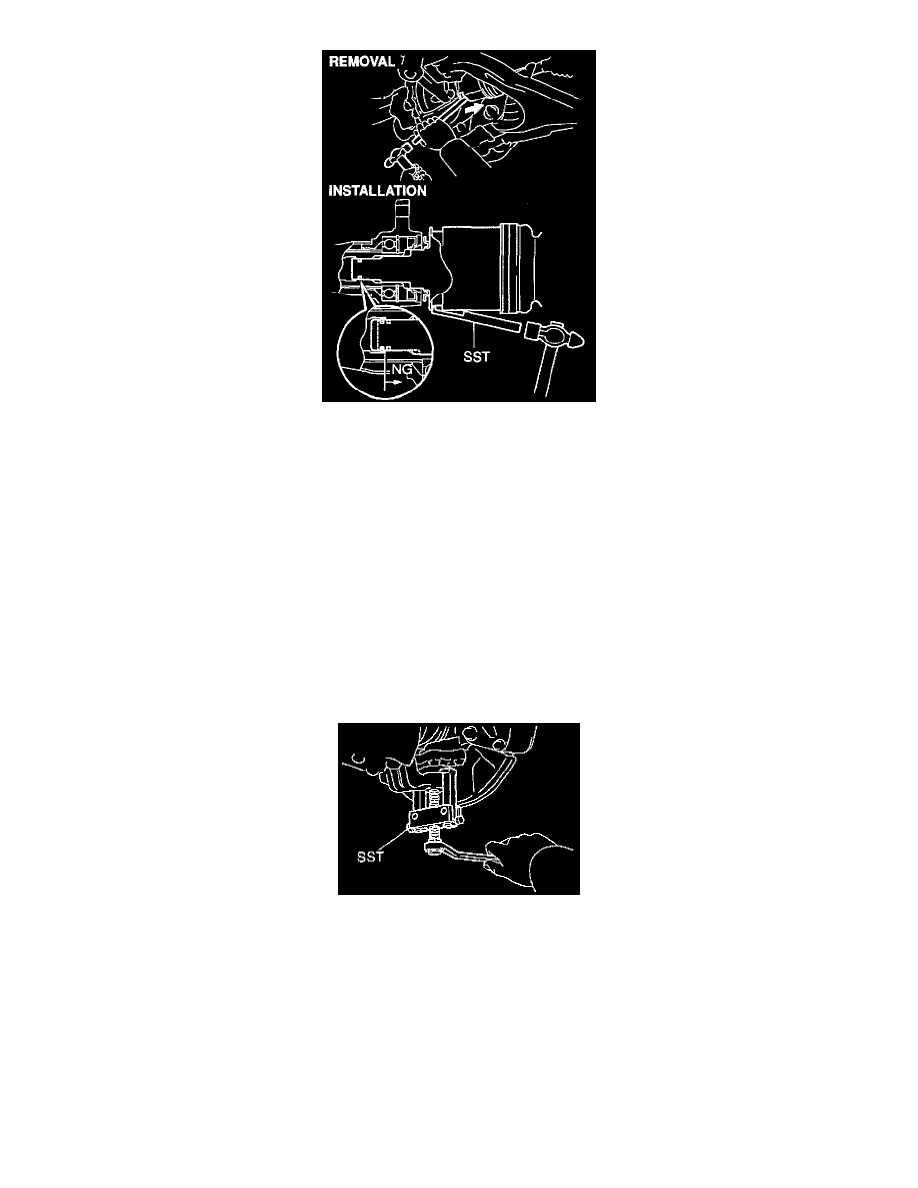
Removal Hint: When it is difficult to disconnect the drive shaft, tap in a screwdriver between differential side tube flange/differential carrier and
drive shaft.
Installation Hint:
^
Before installation, set the snap ring opening side facing downward. Using the 09631-10030 Special Service Tool (SST) and a hammer,
strike the inboard joint into the differential. At that time, strike the snags evenly to avoid snags deformation.
^
After installation, check that the drive shaft cannot be pull out by hand.
^
Be careful not to damage the dust cover of the drive shaft.
5. Disconnect the lower suspension arm by doing the following steps.
a. Remove the cotter pin and nut.
NOTE: When installing the nut, tighten it to 140 Nm (105 ft. lbs.).
b. Using the 09628-62011 SST, disconnect the lower suspension arm.
Installation Hint: Face the cotter pin hole of the lower ball joint forward.